- Android图像切换器
- Android图像切换器(1)
- Android 中的图像切换器示例
- Android 中的图像切换器示例(1)
- Android 以图片搜索图片
- Android 以图片搜索图片(1)
- Kotlin 中的文本切换器(1)
- Kotlin 中的文本切换器
- Kotlin 中的图像切换器(1)
- Kotlin 中的图像切换器
- 基础 CSS 切换器
- 基础 CSS 切换器(1)
- 带切换器的引导导航 (1)
- 图片 (1)
- 带切换器的引导导航 - 任何代码示例
- Kotlin 中的动态文本切换器(1)
- Kotlin 中的动态文本切换器
- 图片上的图片php(1)
- Kotlin 中的动态图像切换器
- 图片上的图片php代码示例
- Android-图片效果
- Android-图片效果(1)
- 引导导航栏切换器图标颜色 (1)
- 图片 - Html (1)
- 图片太大 html (1)
- 引导导航栏切换器图标颜色 - 任何代码示例
- 图片代码 - Html (1)
- 图片 - 任何代码示例
- 图片太大 html 代码示例
📅 最后修改于: 2021-01-05 05:17:02 🧑 作者: Mango
有时,您不希望图像突然出现在屏幕上,而是想在图像从一个图像过渡到另一个图像时对其应用某种动画。这是由Android以ImageSwitcher的形式支持的。
图像切换器允许您通过图像在屏幕上的显示方式在图像上添加一些过渡效果。为了使用图像切换器,您需要首先定义其XML组件。其语法如下-
现在,我们在java文件中创建一个ImageSwithcer实例,并获取此XML组件的引用。其语法如下-
private ImageSwitcher imageSwitcher;
imageSwitcher = (ImageSwitcher)findViewById(R.id.imageSwitcher1);
接下来,我们需要实现ViewFactory接口并实现未实现的方法,该方法返回imageView。它的语法如下-
imageSwitcher.setImageResource(R.drawable.ic_launcher);
imageSwitcher.setFactory(new ViewFactory() {
   public View makeView() {
      ImageView myView = new ImageView(getApplicationContext());
      return myView;
   }
}
您需要做的最后一件事是将Animation添加到ImageSwitcher。您需要通过调用静态方法loadAnimation通过AnimationUtilities类来定义Animation类的对象。其语法如下-
Animation in = AnimationUtils.loadAnimation(this,android.R.anim.slide_in_left);
imageSwitcher.setInAnimation(in);
imageSwitcher.setOutAnimation(out);
setInAnimaton方法可设置对象在屏幕上的外观动画,而setOutAnimation则相反。方法loadAnimation()创建一个动画对象。
除了这些方法之外,ImageSwitcher类中还定义了其他方法。它们定义如下-
| Sr.No | Method & description |
|---|---|
| 1 |
setImageDrawable(Drawable drawable) Sets an image with image switcher. The image is passed in the form of bitmap |
| 2 |
setImageResource(int resid) Sets an image with image switcher. The image is passed in the form of integer id |
| 3 |
setImageURI(Uri uri) Sets an image with image switcher. THe image is passed in the form of URI |
| 4 |
ImageSwitcher(Context context, AttributeSet attrs) Returns an image switcher object with already setting some attributes passed in the method |
| 5 |
onInitializeAccessibilityEvent (AccessibilityEvent event) Initializes an AccessibilityEvent with information about this View which is the event source |
| 6 |
onInitializeAccessibilityNodeInfo (AccessibilityNodeInfo info) Initializes an AccessibilityNodeInfo with information about this view |
例
下面的示例演示了位图上的某些图像切换器效果。它创建了一个基本应用程序,可让您查看图像上的动画效果。
要尝试使用此示例,您需要在实际设备上运行它。
| Steps | Description |
|---|---|
| 1 | You will use Android studio IDE to create an Android application under a package com.example.sairamkrishna.myapplication. |
| 2 | Modify src/MainActivity.java file to add necessary code. |
| 3 | Modify the res/layout/activity_main to add respective XML components |
| 4 | Run the application and choose a running android device and install the application on it and verify the results |
以下是修改后的主要活动文件src / MainActivity.java的内容。
在下面的代码中, tp和abc表示tutorialspoint.com的徽标
package com.example.sairamkrishna.myapplication;

import android.app.Activity;
import android.app.ActionBar.LayoutParams;
import android.os.Bundle;
import android.view.View;

import android.widget.Button;
import android.widget.ImageSwitcher;
import android.widget.ImageView;
import android.widget.Toast;
import android.widget.ViewSwitcher.ViewFactory;

public class MainActivity extends Activity {
   private ImageSwitcher sw;
   private Button b1,b2;

   @Override
   protected void onCreate(Bundle savedInstanceState) {
      super.onCreate(savedInstanceState);
      setContentView(R.layout.activity_main);

      b1 = (Button) findViewById(R.id.button);
      b2 = (Button) findViewById(R.id.button2);

      sw = (ImageSwitcher) findViewById(R.id.imageSwitcher);
      sw.setFactory(new ViewFactory() {
         @Override
         public View makeView() {
            ImageView myView = new ImageView(getApplicationContext());
            myView.setScaleType(ImageView.ScaleType.FIT_CENTER);
            myView.setLayoutParams(new
               ImageSwitcher.LayoutParams(LayoutParams.WRAP_CONTENT,
                  LayoutParams.WRAP_CONTENT));
            return myView;
         }
      });

      b1.setOnClickListener(new View.OnClickListener() {
         @Override
         public void onClick(View v) {
            Toast.makeText(getApplicationContext(), "previous Image",
               Toast.LENGTH_LONG).show();
            sw.setImageResource(R.drawable.abc);
         }
      });

      b2.setOnClickListener(new View.OnClickListener() {
         @Override
         public void onClick(View v) {
            Toast.makeText(getApplicationContext(), "Next Image",
               Toast.LENGTH_LONG).show();
            sw.setImageResource(R.drawable.tp);
         }
      });
   }
}
以下是xml res / layout / activity_main.xml的修改内容。
以下是Strings.xml文件的内容。
    My Application

    ]]>
以下是AndroidManifest.xml文件的内容。
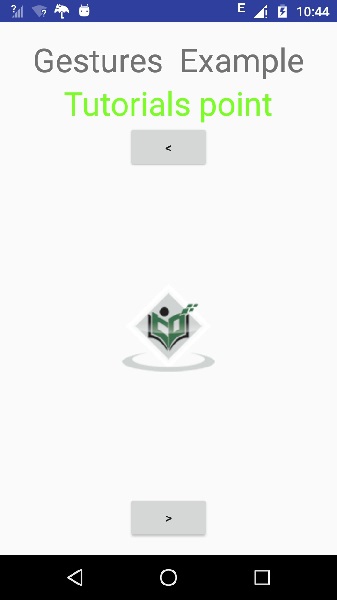
让我们尝试运行刚刚修改的应用程序。我假设您在进行环境设置时已创建了AVD 。要从Android Studio运行该应用,请打开您项目的活动文件之一,然后点击运行 工具栏中的图标。 Android studio将应用安装在您的AVD上并启动它,如果设置和应用程序一切正常,它将显示在“模拟器”窗口下方-
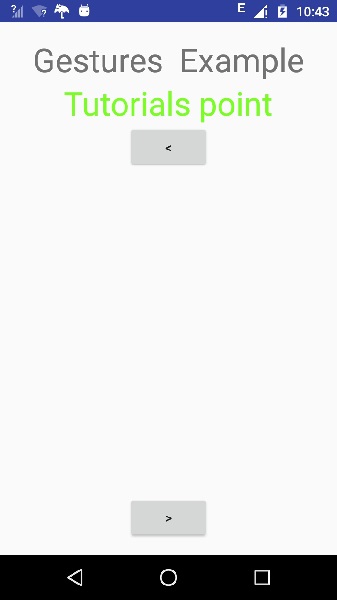
现在,如果您查看设备屏幕,您将看到两个按钮。
现在,只需选择右箭头上方的按钮即可。图像将从右侧出现并向左移动。它显示如下-
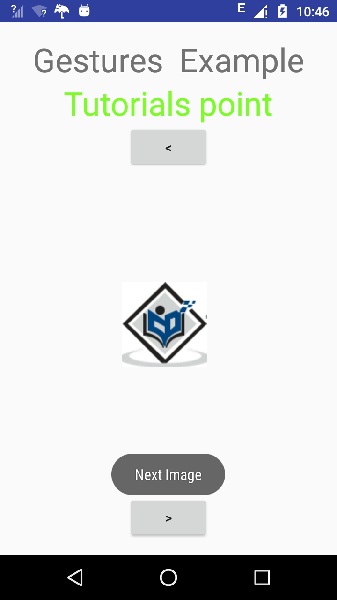
现在点击下面的按钮,这将使前一张图像具有一定的过渡。它显示如下-