Python| kivy中的滚动视图小部件
Kivy 是Python中一个独立于平台的 GUI 工具。因为它可以在Android、IOS、Linux、Windows等平台上运行。它基本上是用来开发Android应用程序的,但这并不意味着它不能在桌面应用程序上使用。
Kivy Tutorial – Learn Kivy with Examples.
滚动视图:
ScrollView 小部件提供了一个可滚动/可平移的视口,该视口被剪辑在滚动视图的边界框处。滚动视图只接受一个孩子,并根据 2 个属性对其应用一个窗口:
- 滚动_x
- scroll_y
要确定交互是否是滚动手势,使用以下属性:
- scroll_distance :移动的最小距离,默认为 20 像素。
- scroll_timeout :最大时间段,默认为 55 毫秒。
Note:
To use the scrollview you must have to import it:
from kivy.uix.scrollview import ScrollView
Basic Approach:
1) import kivy
2) import kivyApp
3) import scroll view
4) import string property
5) Set minimum version(optional)
6) create the scroll view class
7) Build the .kv file within the .py file
8) Run an app
代码的实现:
Python3
# Program to explain how to use scroll view in kivy
# import kivy module
import kivy
# base Class of your App inherits from the App class.
# app:always refers to the instance of your application
from kivy.app import App
# this restrict the kivy version i.e
# below this kivy version you cannot
# use the app or software
kivy.require('1.9.0')
# The Label widget is for rendering text
from kivy.uix.label import Label
# The ScrollView widget provides a scrollable view
from kivy.uix.scrollview import ScrollView
# Property that represents a string value
from kivy.properties import StringProperty
# Static main function that starts the application loop.
from kivy.base import runTouchApp
# Builder is a global Kivy instance used in
# widgets that you can use to load other
# kv files in addition to the default ones.
from kivy.lang import Builder
# Build the .kv file
Builder.load_string('''
# Define the scroll view
:
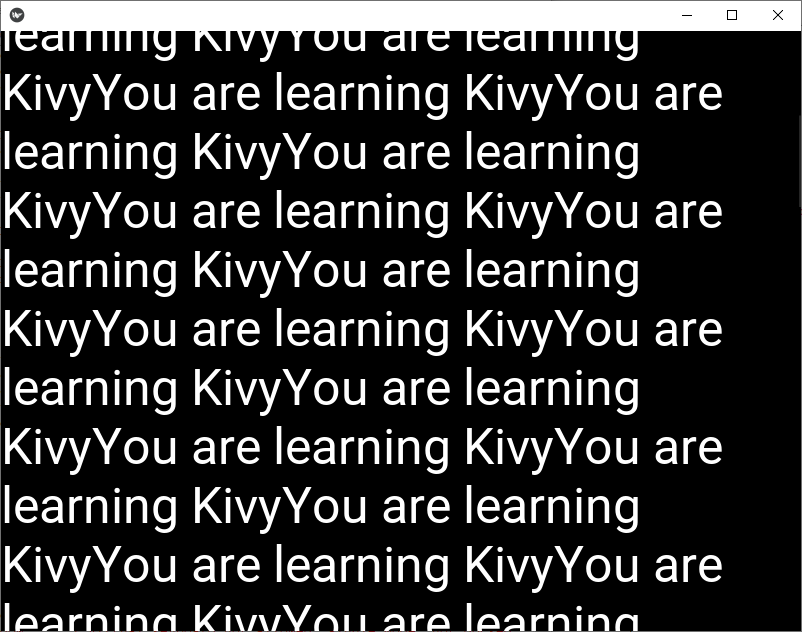
text: 'You are learning Kivy' * 500
Label:
text: root.text
font_size: 50
text_size: self.width, None
size_hint_y: None
height: self.texture_size[1]
''')
# Define scrollview class
class ScrollableLabel(ScrollView):
text = StringProperty('')
# run the App
runTouchApp(ScrollableLabel()) Python3
from kivy.app import App

# importing builder from kivy
from kivy.lang import Builder


# this is the main class which will
# render the whole application
class uiApp(App):

    # method which will render our application
    def build(self):
        return Builder.load_string(

            BoxLayout:
            size_hint: (1, 1)
            ScrollView:

            # here we can set bar color
            bar_color: [0, 0, 255, 1]

            # here we can set bar width
            bar_width: 12

            BoxLayout:


            size: (self.parent.width, self.parent.height-1)
            id: container
            orientation: "vertical"
            size_hint_y: None

            height: self.minimum_height

            canvas.before:
            Color:

            rgba:  rgba("#50C878")
            Rectangle:

            pos: self.pos
            size: self.size

            Label:
            size_hint: (1, None)
            height: 300
            markup: True
            text: "[size=78]GeeksForGeeks[/size]"
            Label:
            size_hint: (1, None)
            height: 300
            markup: True
            text: "[size=78]GeeksForGeeks[/size]"
            Label:
            size_hint: (1, None)
            height: 300
            markup: True
            text: "[size=78]GeeksForGeeks[/size]"
            Label:
            size_hint: (1, None)
            height: 300
            markup: True
            text: "[size=78]GeeksForGeeks[/size]"

        )


# running the application
uiApp().run()
输出:
您还可以更改 ScrollBar 的颜色及其宽度,如下所示,但为此,您必须使用 ScrollView 的属性,例如
- bar_color:它需要一个 RGB 格式的列表来指定条形颜色
- bar_width:它需要一个数字来指定条的大小
更改条形颜色和条形宽度的代码:
Python3
from kivy.app import App

# importing builder from kivy
from kivy.lang import Builder


# this is the main class which will
# render the whole application
class uiApp(App):

    # method which will render our application
    def build(self):
        return Builder.load_string(

            BoxLayout:
            size_hint: (1, 1)
            ScrollView:

            # here we can set bar color
            bar_color: [0, 0, 255, 1]

            # here we can set bar width
            bar_width: 12

            BoxLayout:


            size: (self.parent.width, self.parent.height-1)
            id: container
            orientation: "vertical"
            size_hint_y: None

            height: self.minimum_height

            canvas.before:
            Color:

            rgba:  rgba("#50C878")
            Rectangle:

            pos: self.pos
            size: self.size

            Label:
            size_hint: (1, None)
            height: 300
            markup: True
            text: "[size=78]GeeksForGeeks[/size]"
            Label:
            size_hint: (1, None)
            height: 300
            markup: True
            text: "[size=78]GeeksForGeeks[/size]"
            Label:
            size_hint: (1, None)
            height: 300
            markup: True
            text: "[size=78]GeeksForGeeks[/size]"
            Label:
            size_hint: (1, None)
            height: 300
            markup: True
            text: "[size=78]GeeksForGeeks[/size]"

        )


# running the application
uiApp().run()