- Flutter导航和路由
- Flutter中的路由和导航器(1)
- Flutter导航和路由(1)
- Flutter中的路由和导航器
- ionic 4与ionic 3(1)
- ionic (1)
- ionic 段
- ionic 段(1)
- ionic 4与ionic 3
- 导航到路由并刷新 Angular 6 - Javascript (1)
- ionic 列表(1)
- ionic 列表
- ionic - 任何代码示例
- Ionic键和Ionic化合物(1)
- Ionic键和Ionic化合物
- 导航到路由并刷新 Angular 6 - Javascript 代码示例
- ionic安装(1)
- ionic安装
- ionic - Shell-Bash (1)
- Python路由(1)
- Python路由
- 带有参数 vue 的导航栏路由 - Javascript (1)
- 导航栏代码 (1)
- ionic 输入
- ionic 输入(1)
- ionic 按钮(1)
- ionic 按钮
- 带有参数 vue 的导航栏路由 - Javascript 代码示例
- ionic 选择
📅 最后修改于: 2021-01-03 05:03:59 🧑 作者: Mango
ionic 导航和路由
导航意味着用户如何在 ionic 应用程序中的不同页面之间移动。在Ionic 4中,导航进行了许多更改。例如,v4可以与官方的Angular Router集成,而不必使用Ionics自己的navController 。它为整个应用程序提供了更一致的路由体验。 Angular Router是Angular应用程序中最重要的库。如果不可用,则该应用程序无法在重新加载浏览器时保持其导航状态。因此,借助Ionic框架和Angular Router,您可以创建可链接且具有丰富动画的丰富应用程序。
传统网站使用线性历史记录,用户可以在其中导航到所需页面,并且可以按“上一步”按钮向后导航。但是,在Ionic Framework中,应用程序可以通过允许并行导航来实现这一目标。这意味着它具有多个导航堆栈,并且可以随时交换它们。
Ionic的最新版本使用导航堆栈来实现页面之间的导航。它可以简单地作为页面堆栈来工作,其中一个页面ID位于另一页面的顶部。众所周知,堆栈只能访问顶层元素。 Ionic具有类似的概念,您只能在导航堆栈顶部查看页面。如果要导航到另一个页面,则需要执行以下两个操作之一:
- 推入:将页面推入堆栈。这意味着将元素放在顶部。因此,当您导航到页面时,会将页面推入堆栈顶部。
- 弹出:弹出页面,直到目标页面位于顶部。但是,有必要将页面放在导航堆栈中,您之前已经导航到该页面。因此,当您从页面导航时,就是从堆栈顶部弹出页面。
让我们逐步了解如何在Ionic应用程序的不同页面之间导航。
情况1
以下示例说明了应用程序中的基本导航。
步骤1:创建一个新项目。您可以从此处了解如何在Ionic 4中创建项目。
第2步:创建一个新页面。此页面用于导航。
$ ionic g page animals
步骤3:新创建的页面会自动将其路径添加到app-routing.module.ts文件中,如下所示。
{ path: 'animals', loadChildren: './animals/animals.module#AnimalsPageModule' }{ path: 'animals', loadChildren: './animals/animals.module#AnimalsPageModule' }
在app.component.html中,
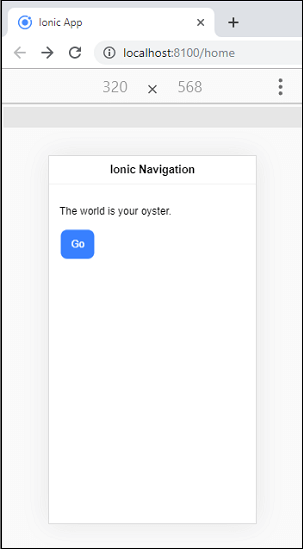
步骤4:创建页面后,打开home.page.html文件并添加以下代码。
      Ionic Navigation


    The world is your oyster.
    ANIMALS
步骤5:现在,运行项目。出现以下屏幕。

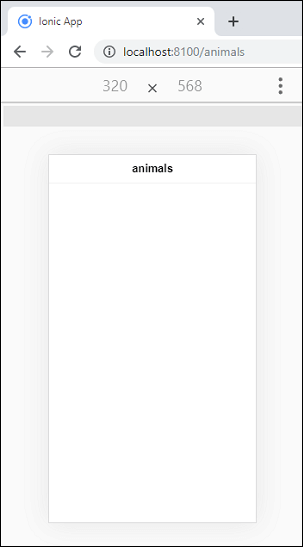
单击“动物”按钮时,将导航到“动物”页面。可以在下面的屏幕中显示。
情况二
用户还可以以编程方式在页面之间导航,这可以从以下示例中理解。
步骤1:在home.page.html文件中添加以下按钮。
Go
步骤2:打开home.page.ts文件并插入以下代码。
import { Component } from '@angular/core';
import { Router } from '@angular/router';

@Component({
  selector: 'app-home',
  templateUrl: 'home.page.html',
  styleUrls: ['home.page.scss'],
})
export class HomePage {
  constructor(private router: Router) {}

  go() {
    this.router.navigate(['animals']);
  }
}
第3步:打开animals.page.html并添加以下按钮以在前一页上导航。
Back
步骤4:打开animal.page.ts文件,并插入以下代码。
import { Component, OnInit } from '@angular/core';
import { Router } from '@angular/router';

@Component({
  selector: 'app-animals',
  templateUrl: './animals.page.html',
  styleUrls: ['./animals.page.scss'],
})
export class AnimalsPage implements OnInit {

  constructor(private router: Router) { }

  ngOnInit() {
  }
  goBack() {
    this.router.navigate(['home']);
  }
}
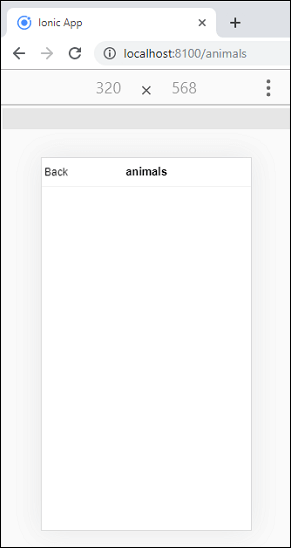
步骤5:执行应用程序。出现以下屏幕。
现在,单击“执行”按钮,您将导航到“动物”页面。在此页面上,当您单击“后退”按钮时,页面将自动导航到主页。
情况3
导航也可以通过使用URL来执行。您可以在以下示例的帮助下理解它。
步骤1:在动物页面内创建一个新组件。要创建组件,请执行以下命令。
$ ionic g c animals/profile
步骤2:接下来,打开animals.module.ts文件并导入ProfileComponent 。然后,添加Profile组件的路由以及id 。在animal.module.ts文件中添加以下代码片段。
import { NgModule } from '@angular/core';
import { CommonModule } from '@angular/common';
import { FormsModule } from '@angular/forms';
import { Routes, RouterModule } from '@angular/router';

import { IonicModule } from '@ionic/angular';

import { AnimalsPage } from './animals.page';
import { ProfileComponent } from './profile/profile.component';

const routes: Routes = [
  {
    path: '',
    component: AnimalsPage
  },
  {
    path: ':id',
    component: ProfileComponent
  }
];

@NgModule({
  imports: [
    CommonModule,
    FormsModule,
    IonicModule,
    RouterModule.forChild(routes)
  ],
  declarations: [AnimalsPage, ProfileComponent]
})
export class AnimalsPageModule {}
步骤3:打开home.page.html文件并添加以下按钮。在这里,我们将在路由路径中传递一些随机ID。
ANIMALS
步骤4:打开home.page.ts文件并插入以下代码。
import { Component } from '@angular/core';
import { Router } from '@angular/router';

@Component({
  selector: 'app-home',
  templateUrl: 'home.page.html',
  styleUrls: ['home.page.scss'],
})
export class HomePage {
  constructor(private router: Router) {}

  go() {
    this.router.navigateByUrl('/animals');
  }
}
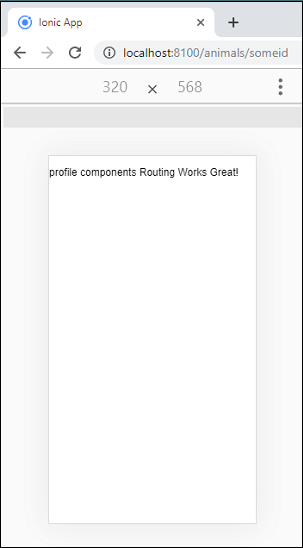
步骤4:现在,执行应用程序,您将获得以下屏幕。
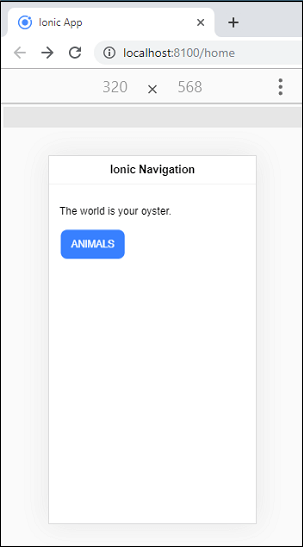
单击“动物”按钮,您将在配置文件组件上导航。
案例4
您还可以通过从URL提取ID来使上述示例更加动态。为此,我们需要使用称为antivatedRoutes的角度服务。以下示例对其进行了更清晰的说明。
步骤1:打开profile.component.ts文件并插入以下代码。
import { Component, OnInit } from '@angular/core';
import { ActivatedRoute } from '@angular/router';

@Component({
  selector: 'app-profile',
  templateUrl: './profile.component.html',
  styleUrls: ['./profile.component.scss'],
})
export class ProfileComponent implements OnInit {
  id: any;

  constructor(private route: ActivatedRoute) { }

  ngOnInit() {
    this.id = this.route.snapshot.paramMap.get('id');
  }
}
步骤2:打开profile.component.html文件并添加以下代码。在这里,我们将显示将始终返回URL中传递的新ID的ID。
Profile components Routing Works Great! for ID {{ id }}
步骤3:现在,执行应用程序,您将获得以下输出。每次导航到其他URL时,都会在UI中显示不同的ID。
