使用Python Matplotlib 创建动画 GIF
在本文中,我们将讨论如何在Python使用 Matplotlib 创建动画 GIF。
Matplotlib 只能用于创建基于数学的动画。这些可以包括在圆周上移动的点或正弦或余弦波,就像声波一样。在 Matplotlib 中,我们有一个名为 animation 的库,我们可以从中导入一个名为 FuncAnimation() 的函数。此函数用于创建动画。该函数用于每次以特定的时间间隔调用一个带有 Frame 编号的animationFunction ,并在图中显示 AnimationFunction 的输出。因此,该函数主要以这四个作为其输入。
句法:
FuncAnimation( Figure, AnimationFunction, Frames, Interval)此外,还有其他功能和对象,它们一起使动画成为可能。它们如下所示:
- 我们将需要 NumPy 来处理各种数学函数和数组。
- 最后,我们将需要从其 pyplot 模块导入的 matplotlib 的绘图能力。
导入所需模块
import numpy as np
from matplotlib.animation import FuncAnimation
from IPython import display
import matplotlib.pyplot as plt入门:
- 这个想法是首先创建任何函数的简单图(这里我们采用了 Cosine 的例子),然后FuncAnimation函数将继续调用AnimationFunction作为参数在给定的间隔后连续传递给它。
- 我们只需要给出这样一个实现,它会导致我们已经通过的AnimationFunction中的绘图位置发生变化。而且由于间隔太小(以毫秒为单位),所以我们觉得它是动画。
这是创建动画的基本思想。
创建动画:
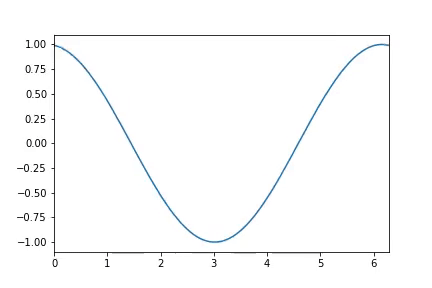
我们将创建一个以视频动画格式显示的余弦波。
下面列出了使用的各种步骤和想法。
- 创建一个图形,其中动画将与 x 轴和 y 轴一起显示。这是通过创建一个图来完成的,我们可以在其中对 x 和 y 轴进行限制。
Python3
Figure = plt.figure()

# creating a plot
lines_plotted = plt.plot([])

# putting limits on x axis since
# it is a trigonometry function
# (0,2∏)
line_plotted = lines_plotted[0]

plt.xlim(0,2*np.pi)

# putting limits on y since it is a
# cosine function
plt.ylim(-1.1,1.1)

# initialising x from 0 to 2∏
x = np.linspace(0,2*np.pi,100)

#initially
y = 0
Python3
# function takes frame as an input
def AnimationFunction(frame):

    # setting y according to frame
    # number and + x. It's logic
    y = np.cos(x+2*np.pi*frame/100)

    # line is set with new values of x and y
    line_plotted.set_data((x, y))
Python3
video = anim_created.to_html5_video()
html = display.HTML(video)
display.display(html)

# good practice to close the plt object.
plt.close()- 现在让我们创建我们的 AnimationFunction,它将根据参数帧连续更改绘图的 x 和 y 坐标。原因是 FuncAnimation 会根据帧数不断调用这个函数。由于动画只是意味着将帧一个接一个地放置以创建视频。
蟒蛇3
# function takes frame as an input
def AnimationFunction(frame):

    # setting y according to frame
    # number and + x. It's logic
    y = np.cos(x+2*np.pi*frame/100)

    # line is set with new values of x and y
    line_plotted.set_data((x, y))
- 现在是调用我们的 FuncAnimation函数的时候了,该函数将连续调用上面定义的函数作为帧数。我们给出了 25 毫秒的间隔。
anim_created = FuncAnimation(Figure, AnimationFunction, frames=100, interval=25)
- 现在是时候展示我们的动画了。所以我们必须通过下面给出的代码来制作一个 HTML 文件:
蟒蛇3
video = anim_created.to_html5_video()
html = display.HTML(video)
display.display(html)

# good practice to close the plt object.
plt.close()
因此,完整的代码可以在本地(如果安装了库)或在 Jupyter Notebooks 或 Colaboratory Notebooks 上在线运行。
输出:
因此,我们能够使用 Matplotlib 创建动画,这使学习数学变得容易。