📌 相关文章
- PythonPillow教程
- PythonPillow教程(1)
- 讨论PythonPillow(1)
- 讨论PythonPillow
- PythonPillow-概述
- PythonPillow-概述(1)
- PythonPillow-图像上的颜色(1)
- PythonPillow-图像上的颜色
- PythonPillow-图像序列(1)
- PythonPillow-图像序列
- PythonPillow-环境设置
- PythonPillow-处理图像
- PythonPillow-处理图像(1)
- PythonPillow-合并图像(1)
- PythonPillow-合并图像
- PythonPillow-使用图像模块(1)
- PythonPillow-使用图像模块
- PythonPillow-有用的资源(1)
- PythonPillow-有用的资源
- PythonPillow-模糊图像(1)
- PythonPillow-模糊图像
- 带有Python的ML-数据功能选择
- 带有Python的ML-数据功能选择(1)
- PythonPillow-创建缩略图(1)
- PythonPillow-创建缩略图
- PythonPillow-裁剪图像
- PythonPillow-裁剪图像(1)
- PythonPillow-调整图像大小(1)
- PythonPillow-调整图像大小
📜 PythonPillow-带有Numpy的ML
📅 最后修改于: 2020-11-07 07:51:19 🧑 作者: Mango
在本章中,我们使用numpy通过Python映像库–“枕头”来存储和处理图像数据。
在继续本章之前,请在管理员模式下打开命令提示符,并在其中执行以下命令以安装numpy-
pip install numpy
注意-仅当您安装并更新了PIP时,此方法才有效。
从Numpy数组创建图像
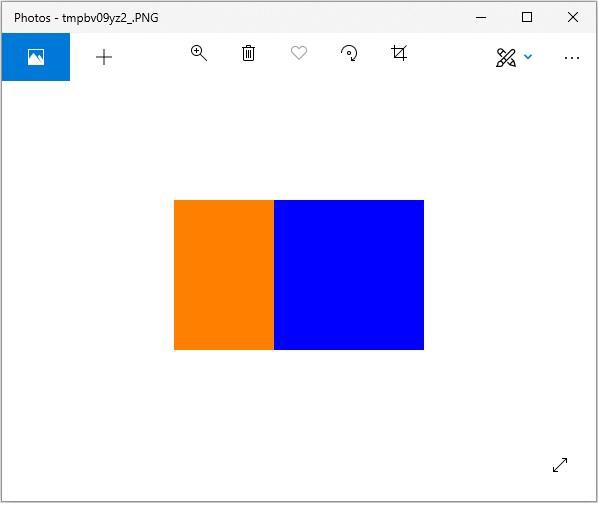
使用PIL创建RGB图像并将其另存为jpg文件。在以下示例中,我们将-
-
创建一个150 x 250像素的数组。
-
用橙色填充数组的左半部分。
-
用蓝色填充数组的右半部分。
from PIL import Image
import numpy as np

arr = np.zeros([150, 250, 3], dtype=np.uint8)

arr[:,:100] = [255, 128, 0]

arr[:,100:] = [0, 0, 255]

img = Image.fromarray(arr)

img.show()

img.save("RGB_image.jpg")
输出
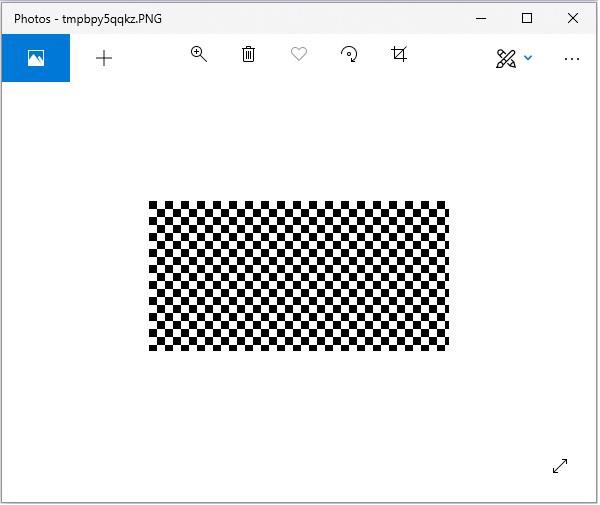
创建灰度图像
创建灰度图像与创建RGB图像略有不同。我们可以使用二维数组来创建灰度图像。
from PIL import Image
import numpy as np

arr = np.zeros([150,300], dtype=np.uint8)

#Set grey value to black or white depending on x position
   for x in range(300):
      for y in range(150):
         if (x % 16) // 8 == (y % 16)//8:
            arr[y, x] = 0
         else:
            arr[y, x] = 255
img = Image.fromarray(arr)

img.show()

img.save('greyscale.jpg')
输出
从图像创建numpy数组
您可以将PIL图像转换为numpy数组,反之亦然。下面说明了一个演示相同内容的小程序。
例
#Import required libraries
from PIL import Image
from numpy import array
#Open Image & create image object
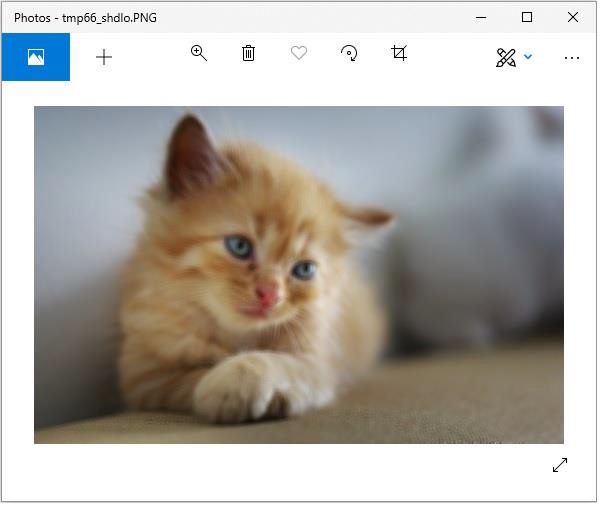
img = Image.open('beach1.jpg')
#Show actual image
img.show()
#Convert an image to numpy array
img2arr = array(img)
#Print the array
print(img2arr)
#Convert numpy array back to image
arr2im = Image.fromarray(img2arr)
#Display image
arr2im.show()
#Save the image generated from an array
arr2im.save("array2Image.jpg")
输出
如果将上述程序另存为Example.py并执行-
-
它显示原始图像。
-
显示从中检索的数组。
-
将数组转换回图像并显示。
-
由于我们使用了show()方法,因此使用默认的PNG显示实用程序显示图像,如下所示。
[[[ 0 101 120]
[ 3 108 127]
[ 1 107 123]
...
...
[[ 38 59 60]
[ 37 58 59]
[ 36 57 58]
...
[ 74 65 60]
[ 59 48 42]
[ 66 53 47]]
[[ 40 61 62]
[ 38 59 60]
[ 37 58 59]
...
[ 75 66 61]
[ 72 61 55]
[ 61 48 42]]
[[ 40 61 62]
[ 34 55 56]
[ 38 59 60]
...
[ 82 73 68]
[ 72 61 55]
[ 63 52 46]]]
原始图片
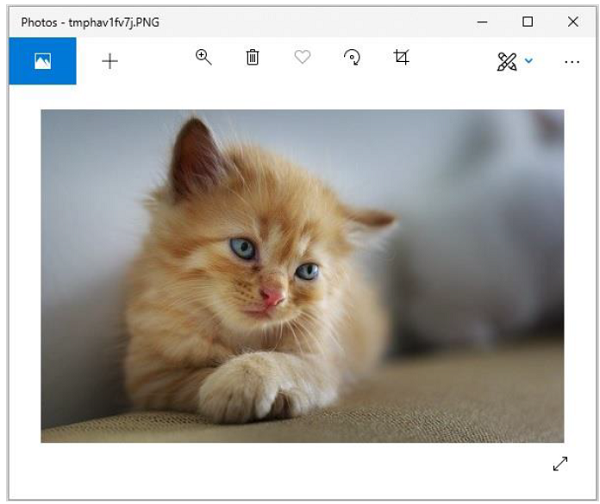
从数组构造的图像