Google Fonts 提供了多种字体,可用于在 Android Studio 中设置文本样式。合适的字体不仅可以增强用户界面,还可以表示和强调文本的目的。在 Android Studio 中,主要有三种方法可以将自定义字体添加到文本中。前两种方法涉及使用Typeface类,而最后一种方法非常直接和简单。按照整篇文章探索所有方法。
方法一
在这种方法中,我们将首先从 Internet 下载字体的ttf文件,然后将它们用作资产或资源来设置字体。您可以在此处找到可下载的字体。这里使用了Dancing Script字体。下载您选择的字体后,解压缩文件夹并复制字体文件。
通过创建一个新的 Android 资源目录:
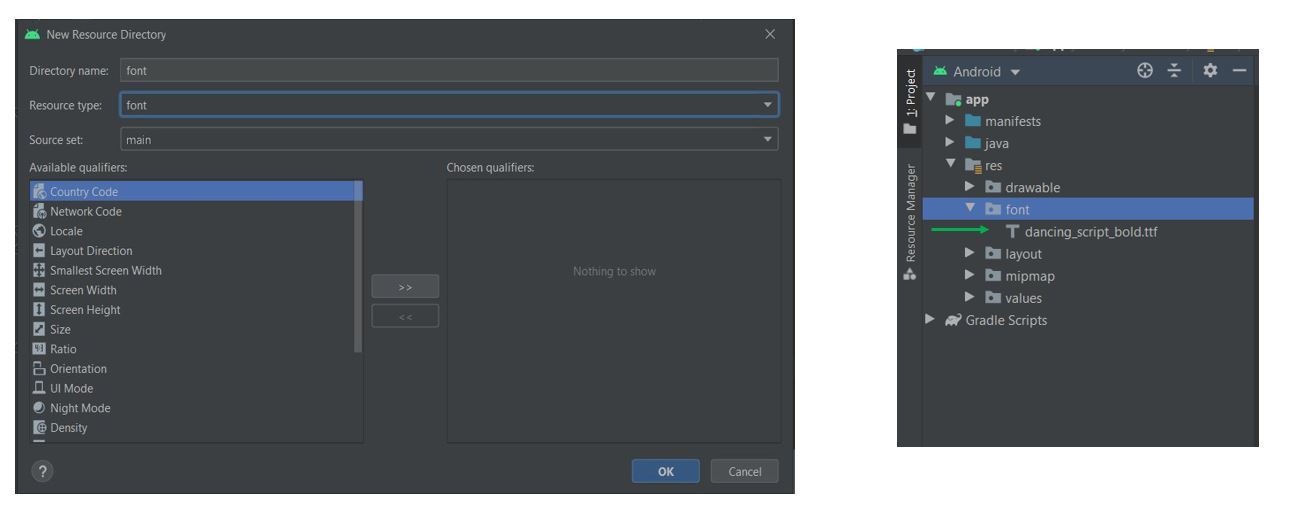
- 步骤1:在项目的资源文件夹中,新建一个资源类型为:字体的Android资源目录并将这个’ttf’文件粘贴到这里。请注意,在粘贴时,请记住资源文件的名称只能由小写字母和下划线组成,因此请相应地重构文件。
- 步骤 2:在 XML 文件中创建布局。
- 第3步:现在在MainActivity(必须是要自定义的TextView所在的布局文件对应的Activity)中,设置该TextView的字体。
activity_main.xml
MainActivity.java
package com.example.android.customfonts;

import androidx.appcompat.app.AppCompatActivity;
import androidx.core.content.res.ResourcesCompat;
import android.graphics.Typeface;
import android.os.Bundle;
import android.widget.TextView;

public class MainActivity extends AppCompatActivity {

    @Override
    protected void onCreate(Bundle savedInstanceState)
    {
        super.onCreate(savedInstanceState);
        setContentView(R.layout.activity_main);

        TextView textView = findViewById(R.id.textview);

        Typeface typeface = ResourcesCompat.getFont(
            this,
            R.font.dancing_script_bold);
        textView.setTypeface(typeface);
    }
}
MainActivity.java
package com.example.android.customfonts;

import androidx.appcompat.app.AppCompatActivity;
import androidx.core.content.res.ResourcesCompat;
import android.graphics.Typeface;
import android.os.Bundle;
import android.widget.TextView;
import com.example.android.customfonts.R;

public class MainActivity extends AppCompatActivity {

    @Override
    protected void onCreate(Bundle savedInstanceState)
    {
        super.onCreate(savedInstanceState);
        setContentView(R.layout.activity_main);

        TextView textView = findViewById(R.id.textview);

        Typeface typeface = Typeface.createFromAsset(
            getAssets(),
            "macondo_swash_caps_regular.ttf");
        textView.setTypeface(typeface);
    }
}
CalligraffittiRegular.java
package com.example.android.customfonts;

import android.content.Context;
import android.graphics.Typeface;
import android.util.AttributeSet;

public class CalligraffittiRegular extends
         androidx.appcompat.widget.AppCompatTextView {

    public CalligraffittiRegular(Context context)
    {
        super(context);
        initTypeface(context);
    }

    public CalligraffittiRegular(Context context,
                                 AttributeSet attrs)
    {
        super(context, attrs);
        initTypeface(context);
    }

    public CalligraffittiRegular(Context context,
                                 AttributeSet attrs,
                                 int defStyleAttr)
    {
        super(context, attrs, defStyleAttr);
        initTypeface(context);
    }

    private void initTypeface(Context context)
    {
        Typeface tf = Typeface.createFromAsset(
            context.getAssets(),
            "calligraffitti_regular.ttf");
        this.setTypeface(tf);
    }
}
activity_main.xml
activity_main.xml
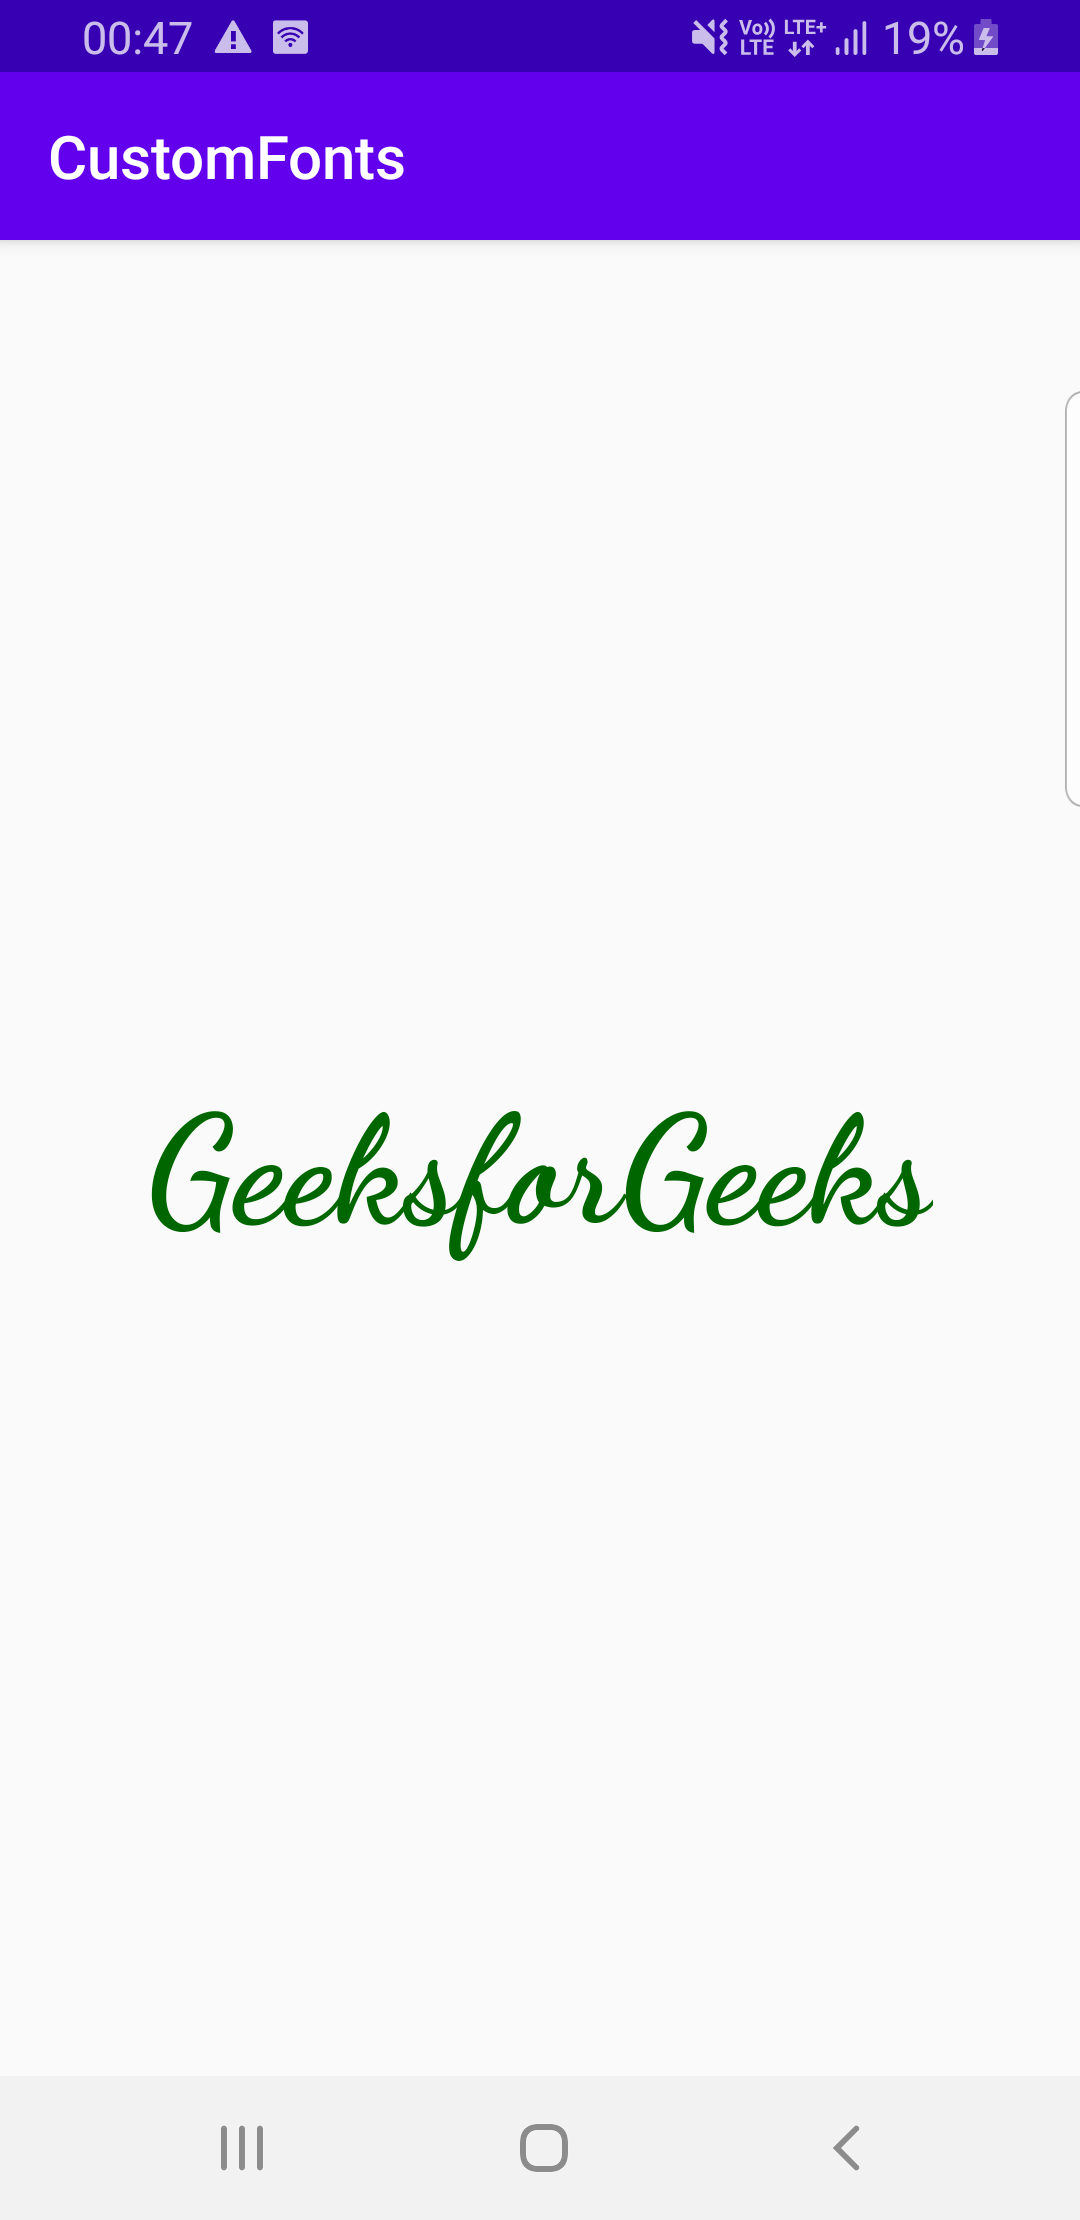
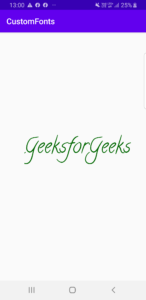
- 输出:
通过创建一个新的资产文件夹:
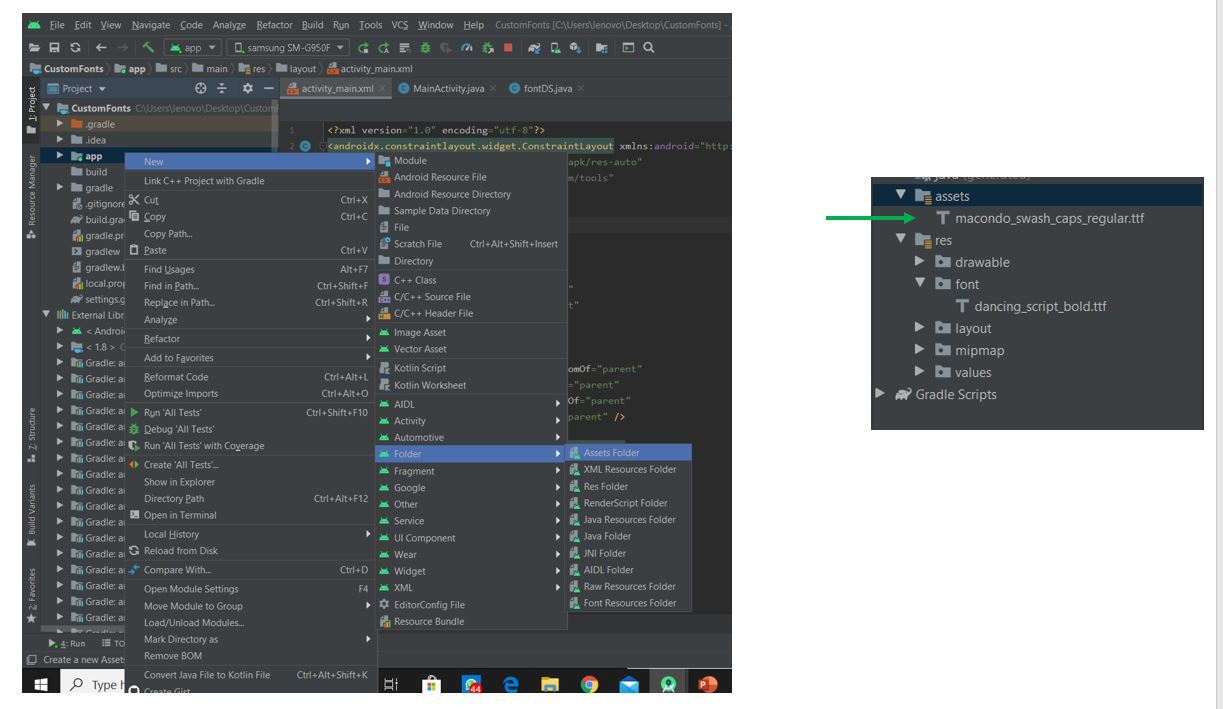
- 第一步:在Android Studio中新建一个资产文件夹(app/New/Folder/Asset文件夹) ,将字体的’ttf’文件粘贴到这里。左边的图片显示了如何将资产文件夹添加到项目中,而右边的图片显示了添加的 ‘ttf’ 文件。
- 第 2 步:虽然我们保持 XML 布局与之前相同,但 MainActivity 的Java代码是这样修改的。
主要活动。Java
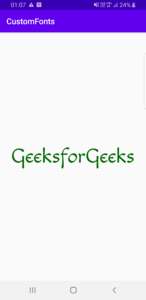
package com.example.android.customfonts; import androidx.appcompat.app.AppCompatActivity; import androidx.core.content.res.ResourcesCompat; import android.graphics.Typeface; import android.os.Bundle; import android.widget.TextView; import com.example.android.customfonts.R; public class MainActivity extends AppCompatActivity { @Override protected void onCreate(Bundle savedInstanceState) { super.onCreate(savedInstanceState); setContentView(R.layout.activity_main); TextView textView = findViewById(R.id.textview); Typeface typeface = Typeface.createFromAsset( getAssets(), "macondo_swash_caps_regular.ttf"); textView.setTypeface(typeface); } } - 输出:
方法二
在此方法中,我们将创建一个专门用于特定字体的单独Java类,并使用此类代替 XML 文件中的传统 TextView 标记。
- 第一步:下载自己喜欢的字体,使用以上两种方式中的任意一种保存到工程中。我已将我的文件粘贴到资产文件夹中。
- 第 2 步:在包中创建一个新的Java文件。最好根据要实现的字体命名。在这里,我们创建了一个名为CalligraffittiRegular的文件。
- 第 3 步:在此Java文件中扩展以下类:
androidx.appcompat.widget.AppCompatTextView
- 第 4 步:通过添加所需的构造函数来完成Java代码。
- 第 5 步:在类中创建一个方法,在其中设置字体的字体。
- 第 6 步:在每个构造函数中调用此方法。请参考以下代码以更好地理解。
CalligraffittiRegular。Java
package com.example.android.customfonts; import android.content.Context; import android.graphics.Typeface; import android.util.AttributeSet; public class CalligraffittiRegular extends androidx.appcompat.widget.AppCompatTextView { public CalligraffittiRegular(Context context) { super(context); initTypeface(context); } public CalligraffittiRegular(Context context, AttributeSet attrs) { super(context, attrs); initTypeface(context); } public CalligraffittiRegular(Context context, AttributeSet attrs, int defStyleAttr) { super(context, attrs, defStyleAttr); initTypeface(context); } private void initTypeface(Context context) { Typeface tf = Typeface.createFromAsset( context.getAssets(), "calligraffitti_regular.ttf"); this.setTypeface(tf); } } - 第 7 步:现在在您的 XML 布局文件中,使用此字体类而不是传统的 TextView 标记。
活动_main.xml
- 输出:
方法三
在 Android 8.0(API 级别 26)中,引入了一种更简单的方法,用于在 Android Studio 中使用字体作为资源。 TextView 类的android:fontFamily属性用于指定字体。
- 步骤 1:转到 XML 文件并转到设计视图。
- 第 2 步:单击要更改其字体的 TextView。
- 第 3 步:在搜索栏中,搜索 fontFamily。

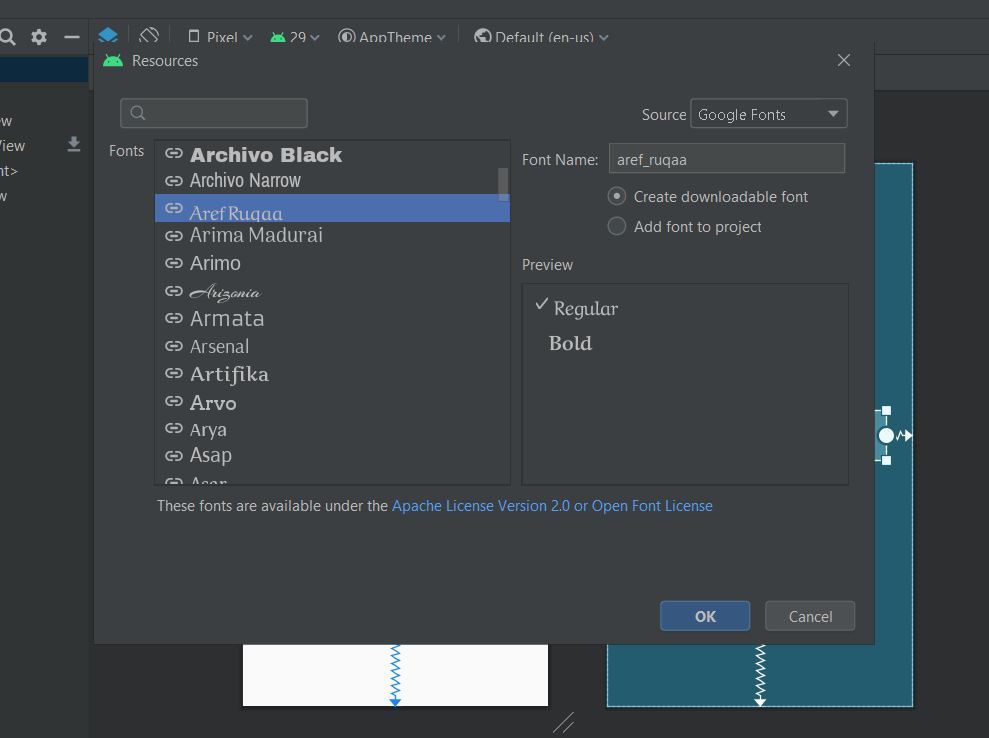
- 第 4 步:在下拉菜单中,您可以查看可用的字体。如果您想探索更多,请向下滚动并单击“更多字体… ”。
- 第五步:弹出一个对话框。选择您选择的字体,在预览中选择您喜欢的样式,然后单击确定。
- 第 6 步:这将创建一个可下载的字体并将其自动添加到您的项目中。
以下文件会自动添加到您的项目中:
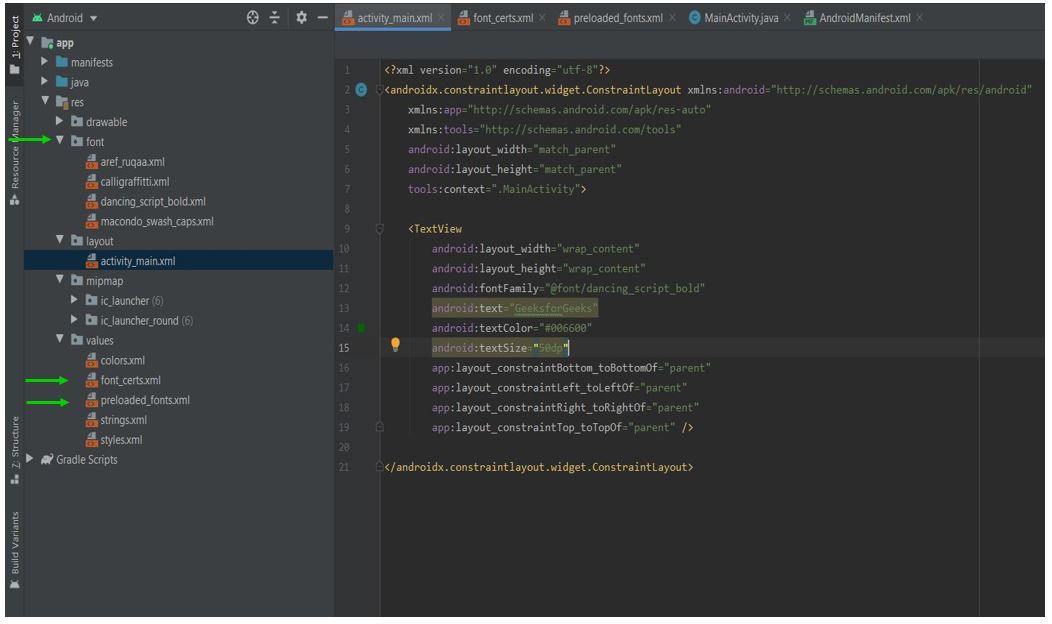
- 第 7 步:现在 XML 文件将如下所示:
活动_main.xml
- 输出:

结论
虽然最后一种方法看起来既简单又省时,但它会将额外的文件与应用程序的 APK 捆绑在一起,这可能会增加其大小。虽然这也确保了即使应用程序离线工作时字体也存在。第一种方法会产生更小的 APK,但如果其他一些已经存在的应用程序没有在其缓存中存储相同的字体,则用户可能需要在处理应用程序时访问互联网。想要一个更快节奏和更具竞争力的环境来学习 Android 的基础知识吗?单击此处前往由我们的专家精心策划的指南,旨在让您立即做好行业准备!