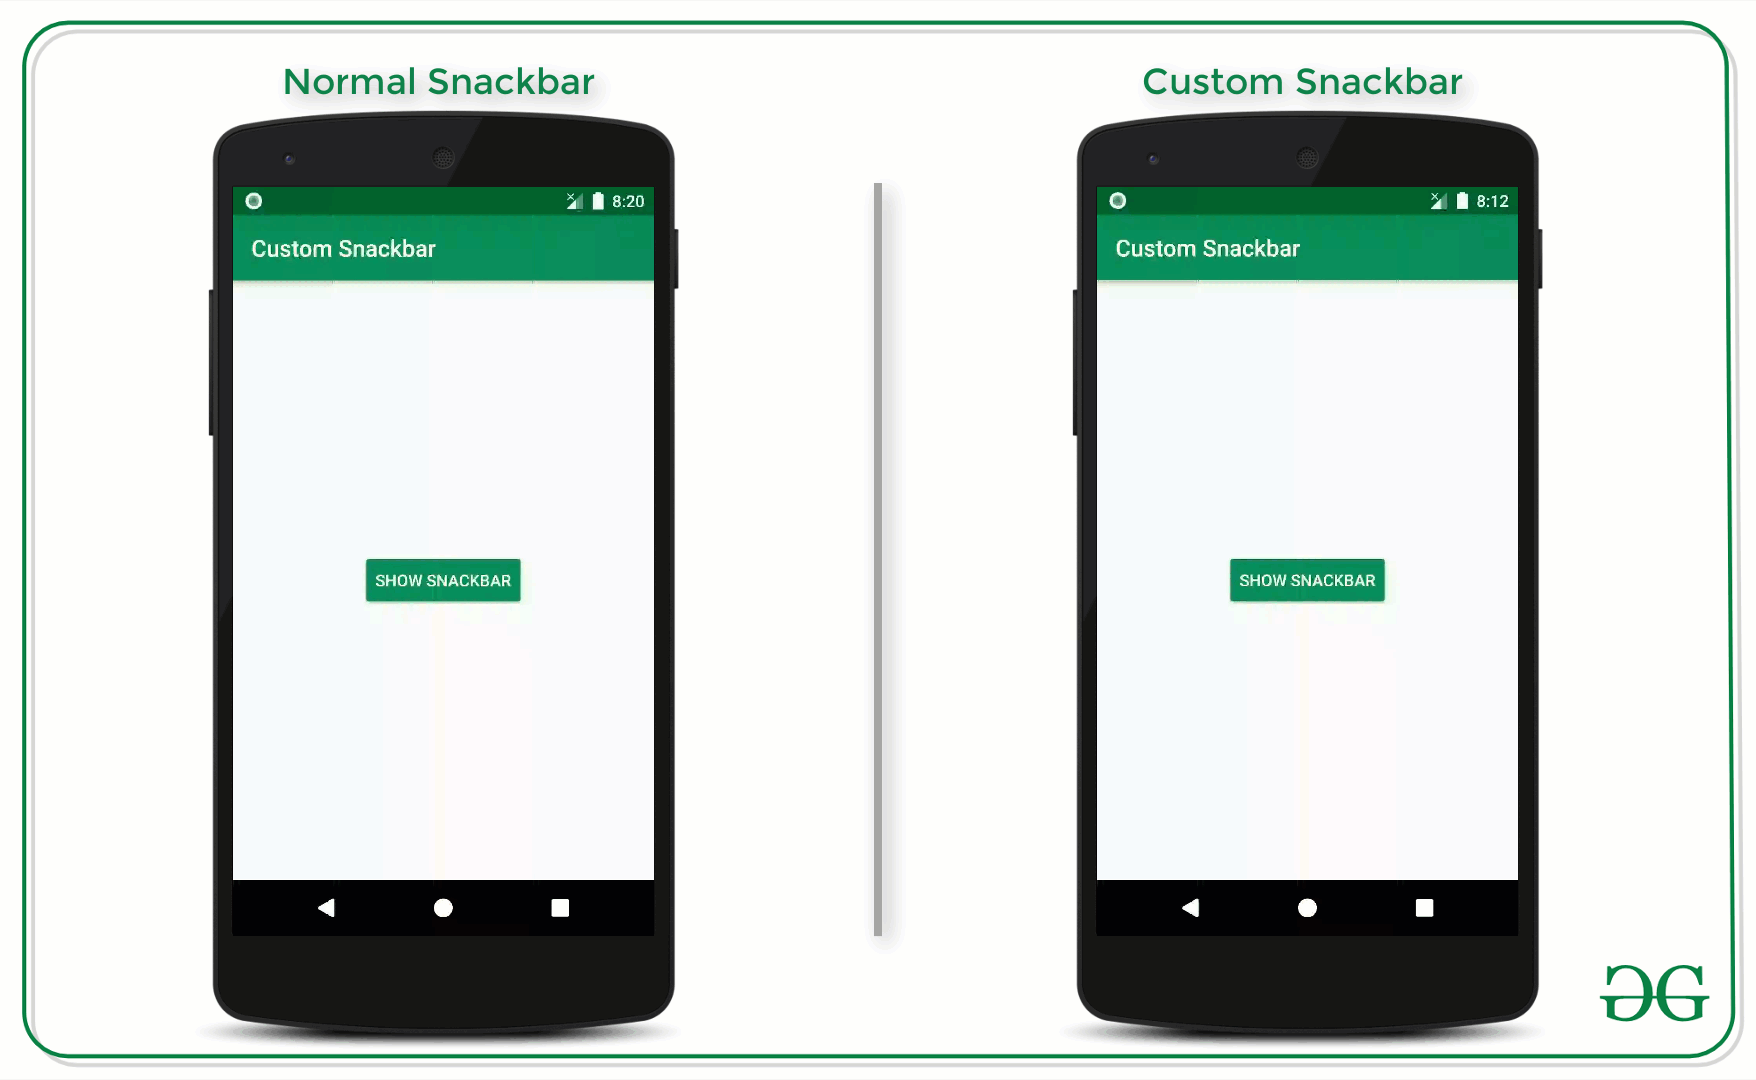
SnackBars在用户体验中扮演着非常重要的角色。可能包含或不包含要执行的操作按钮的小吃店会立即显示由于用户交互而发生的消息。因此,在本文中,已经讨论了如何使用自定义布局来实现SnackBars。请看下面的图片,以了解如何将定制的SnackBars与常规(普通)SnackBars区分开。注意,我们将使用Java语言实现该项目。
在Android中实现自定义SnackBars的步骤
步骤1:创建一个空的活动项目
- 创建一个空的活动Android Studio项目。并选择Java作为编程语言。
- 参考Android |如何在Android Studio中创建/启动新项目?了解如何创建一个空的活动Android Studio项目。
步骤2:使用activity_main.xml文件
- 这里的主要布局仅包含一个按钮,单击该按钮时将显示自定义SnackBar。
- 在activity_main.xml文件中调用以下代码。
XML
XML
Java
import androidx.appcompat.app.AppCompatActivity;
import android.graphics.Color;
import android.os.Bundle;
import android.view.View;
import android.widget.Button;
import android.widget.Toast;
import com.google.android.material.snackbar.Snackbar;

public class MainActivity extends AppCompatActivity {

    Button bShowSnackbar;

    @Override
    protected void onCreate(Bundle savedInstanceState) {
        super.onCreate(savedInstanceState);
        setContentView(R.layout.activity_main);

        // register the button with appropriate ID
        bShowSnackbar = findViewById(R.id.showSnackbarButton);

        bShowSnackbar.setOnClickListener(new View.OnClickListener() {
            @Override
            public void onClick(View v) {

                // create an instance of the snackbar
                final Snackbar snackbar = Snackbar.make(v, "", Snackbar.LENGTH_LONG);

                // inflate the custom_snackbar_view created previously
                View customSnackView = getLayoutInflater().inflate(R.layout.custom_snackbar_view, null);

                // set the background of the default snackbar as transparent
                snackbar.getView().setBackgroundColor(Color.TRANSPARENT);

                // now change the layout of the snackbar
                Snackbar.SnackbarLayout snackbarLayout = (Snackbar.SnackbarLayout) snackbar.getView();

                // set padding of the all corners as 0
                snackbarLayout.setPadding(0, 0, 0, 0);

                // register the button from the custom_snackbar_view layout file
                Button bGotoWebsite = customSnackView.findViewById(R.id.gotoWebsiteButton);

                // now handle the same button with onClickListener
                bGotoWebsite.setOnClickListener(new View.OnClickListener() {
                    @Override
                    public void onClick(View v) {
                        Toast.makeText(getApplicationContext(), "Redirecting to Website", Toast.LENGTH_SHORT).show();
                        snackbar.dismiss();
                    }
                });

                // add the custom snack bar layout to snackbar layout
                snackbarLayout.addView(customSnackView, 0);

                snackbar.show();
            }
        });
    }
}
输出UI:在模拟器上运行

步骤3:为Snackbar创建自定义布局
- 在布局文件夹下,为SnackBar创建一个布局,在MainActivity下构建SnackBar时需要将其放大。 Java文件。
XML格式
产生以下视图:

步骤4:使用MainActivity。 Java文件
Java
import androidx.appcompat.app.AppCompatActivity;
import android.graphics.Color;
import android.os.Bundle;
import android.view.View;
import android.widget.Button;
import android.widget.Toast;
import com.google.android.material.snackbar.Snackbar;

public class MainActivity extends AppCompatActivity {

    Button bShowSnackbar;

    @Override
    protected void onCreate(Bundle savedInstanceState) {
        super.onCreate(savedInstanceState);
        setContentView(R.layout.activity_main);

        // register the button with appropriate ID
        bShowSnackbar = findViewById(R.id.showSnackbarButton);

        bShowSnackbar.setOnClickListener(new View.OnClickListener() {
            @Override
            public void onClick(View v) {

                // create an instance of the snackbar
                final Snackbar snackbar = Snackbar.make(v, "", Snackbar.LENGTH_LONG);

                // inflate the custom_snackbar_view created previously
                View customSnackView = getLayoutInflater().inflate(R.layout.custom_snackbar_view, null);

                // set the background of the default snackbar as transparent
                snackbar.getView().setBackgroundColor(Color.TRANSPARENT);

                // now change the layout of the snackbar
                Snackbar.SnackbarLayout snackbarLayout = (Snackbar.SnackbarLayout) snackbar.getView();

                // set padding of the all corners as 0
                snackbarLayout.setPadding(0, 0, 0, 0);

                // register the button from the custom_snackbar_view layout file
                Button bGotoWebsite = customSnackView.findViewById(R.id.gotoWebsiteButton);

                // now handle the same button with onClickListener
                bGotoWebsite.setOnClickListener(new View.OnClickListener() {
                    @Override
                    public void onClick(View v) {
                        Toast.makeText(getApplicationContext(), "Redirecting to Website", Toast.LENGTH_SHORT).show();
                        snackbar.dismiss();
                    }
                });

                // add the custom snack bar layout to snackbar layout
                snackbarLayout.addView(customSnackView, 0);

                snackbar.show();
            }
        });
    }
}