PyQt5 – 复选框中的皮肤
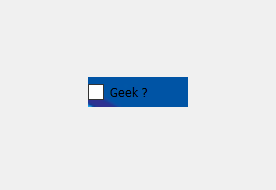
在本文中,我们将了解如何将皮肤设置为复选框。皮肤也是一种背景图像,但它会根据复选框的大小自行调整。下面是背景图像复选框与带有皮肤的复选框的表示。

为此,我们必须更改样式表并设置与复选框对象一起使用的外观。下面是样式表代码。
QCheckBox
{
border-image : url(skin.png);
}
下面是实现。
Python3
# importing libraries
from PyQt5.QtWidgets import *
from PyQt5 import QtCore, QtGui
from PyQt5.QtGui import *
from PyQt5.QtCore import *
import sys
class Window(QMainWindow):
def __init__(self):
super().__init__()
# setting title
self.setWindowTitle("Python ")
# setting geometry
self.setGeometry(100, 100, 600, 400)
# calling method
self.UiComponents()
# showing all the widgets
self.show()
# method for widgets
def UiComponents(self):
# creating the check-box
checkbox = QCheckBox('Geek ?', self)
# setting geometry of check box
checkbox.setGeometry(200, 150, 100, 30)
# setting stylesheet
# adding skin to check box
checkbox.setStyleSheet("QCheckBox"
"{"
"border-image : url(skin.png);"
"}")
# create pyqt5 app
App = QApplication(sys.argv)
# create the instance of our Window
window = Window()
# start the app
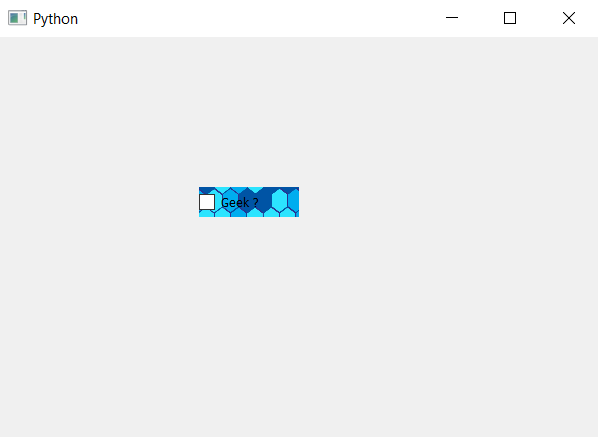
sys.exit(App.exec())输出 :