- LateX (1)
- latex表
- latex 图
- c# latex - C# 代码示例
- html中的latex(1)
- latex列表
- latex列表(1)
- LateX - 任何代码示例
- 如何使用Latex
- 如何使用Latex(1)
- 安装LaTeX
- 安装LaTeX(1)
- 什么是LaTeX
- 什么是LaTeX(1)
- html代码示例中的latex
- 新命令 - latex - C# (1)
- latex 图像
- latex 矩阵(1)
- latex 矩阵
- latex 颜色(1)
- latex 颜色
- 新命令 - latex - C# 代码示例
- LaTeX教程(1)
- LaTeX教程
- latex格式
- latex格式(1)
- LaTeX 中的字体(1)
- LaTeX中的字体
- LaTeX中的字体(1)
📅 最后修改于: 2021-01-06 00:44:35 🧑 作者: Mango
latex 图
Latex中的图形和图表是使用图形环境创建的,表示为:
\begin{figure}[where]
......
\end{figure}
在此,其中代表图形的位置在顶部[t]或底部[b] 。
所有的照片插入图和graphicx宏环境将得到自动索引,并标注了连续的号码。它负责文档中图像的定位和编号。您需要包括\ includegraphics命令来插入图像。
latex 采用一些原则来安排文本,通常称为浮点数。
浮点数
浮点数可解决该问题,以适合无法在同一/当前页面上显示的文本。浮点数是放置在页面一部分中的独立实体,即顶部,底部,中间,左侧,右侧或设计指定的任何位置。浮点数始终带有标题和编号,以便可以在文档中的任何位置引用它们。
浮动是使用图形环境创建的,如下所示:
\begin{figure}{placement specifier}
..........
\end{figure}
放置说明符为:
- h (与源文本位于同一位置)
- b (底部), t (顶部)
- p (放在特殊页面上,仅用于浮点数)
- ! (覆盖)
- H (它将浮子放置在精确的位置)。必须使用包\ usepackage {float}才能实现此float说明符。
字幕数字
下面给出以下示例:
\documentclass{article}
\usepackage{graphicx}
\begin{document}

\begin{figure}[h!]
\caption{The picture of the lion}
\begin{center}
\includegraphics[width=0.2\textwidth]{lion}
\end{center}
\end{figure}

\end{document}
在这里,我们指定了center命令以在中心显示图像。 \ textwidth命令用于确定图片的宽度。
输出:
让我们考虑另一个使用float包的字幕示例。
\documentclass{article}
\usepackage{float}
\usepackage{graphicx}
\begin{document}

\begin{figure}[H]
\centering
\includegraphics[scale=0.3]{star1}
\caption{This is the picture of stars}
\end{figure}

\end{document}
输出:
下面是带有一个和两个标题的两个数字:
带一个标题的两个数字
下面给出了两个带有一个标题的数字的代码:
\documentclass[12pt]{article}
\usepackage{graphicx}
\usepackage{float}
\begin{document}

\begin{figure}[H]
\centering
\includegraphics[height=1.1in]{traffic}%
\hspace{1.3in}% to add some horizontal spacing
\includegraphics[height=1.1in]{traffic1}%
\caption{Example \LaTeX\ traffic pictures with One Caption}
\label{fig:traffic logo}
\end{figure}

\end{document}
输出:
带有两个标题的两个数字
在此示例中,我们使用了minipage命令。该命令写为\ begin {minipage} [c] {0.5 \ textwidth} 。您可以根据需要确定宽度。
minipage命令用于使事物彼此相邻,否则将很难。它用于在现有页面内构建其他页面。例如,两张图片并排放置。
下面给出了带有两个标题的两个图形的代码:
\documentclass[12pt]{article}
\usepackage{graphicx}
\usepackage{float}
\begin{document}

\begin{minipage}[c]{0.5\textwidth}
\begin{figure}[H]
\centering
\includegraphics[height=1.2in]{traffic}
\caption{Example traffic logo}
\label{fig:traffic1}
\end{figure}
\end{minipage}
\begin{minipage}[c]{0.5\textwidth}
\begin{figure}[H]
\centering
\includegraphics[height=1.2in]{traffic1}
\caption{Example traffic logo}
\label{fig:traffic2}
\end{figure}
\end{minipage}

\end{document}
输出:
图片标签和参考
对于标签和参考,您需要包括refstyle包。该命令写为\ usepackage {refstyle} 。让我们通过一个例子来理解它。代码如下:
\documentclass[12pt]{article}
\usepackage{graphicx}
\usepackage{refstyle}
\usepackage{caption}

\begin{document}
\large A variety of flowers
\begin{figure}[t]
\includegraphics[width=0.5\textwidth]{flower}
\caption{A picture of bundle of flowers}
\label{fig:flower}
\end{figure}
as shown in \figref{flower}

\end{document}
\ figref命令用于在文档中进一步引用该图片。裁判将自动编号。
输出:
专柜
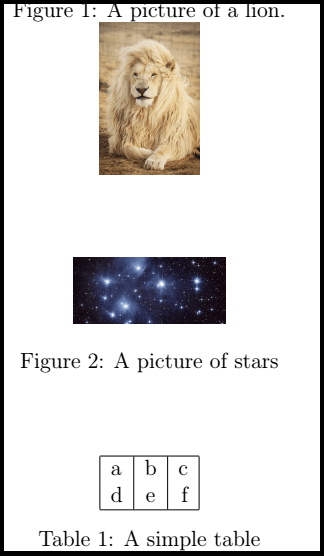
在Latex中,表格和图形具有独立的计数器。您会注意到以下示例中给出的代码和输出。
\documentclass[a5paper,12pt]{article}
\usepackage{graphicx}
\begin{document}

\begin{figure}
 \caption{A picture of a lion.}
 \centering
 \includegraphics[width=0.2\textwidth]{lion}
 \end{figure}

 \begin{figure}
 \centering
  \includegraphics[width=0.3\textwidth]{star1} % the picture of lion and star1 are saved in the folder where the Latex files are present
 \caption{A picture of stars}
\end{figure}

\begin{table}
\centering
    \begin{tabular}{| l| c |r |}
    \hline
    a & b & c \\
    d & e & f \\
    \hline
    \end{tabular}
  \caption{A simple table}
\end{table}

\end{document}
输出:
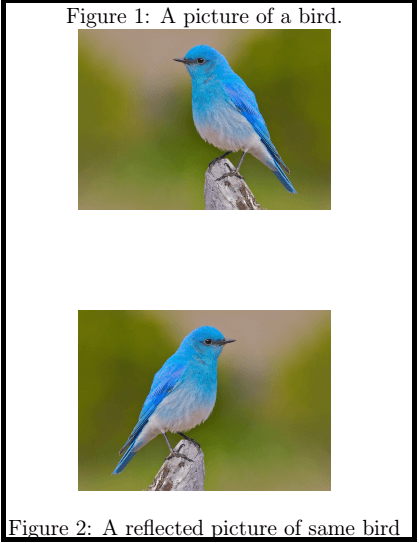
反射图片
对于同一张图片的反射图像,请使用reflectbox命令。该命令写为\ reflectbox {%\ includegraphics {…}} 。下面的示例给出了代码和输出:
\documentclass[a5paper,12pt]{article}
\usepackage{graphicx}
\begin{document}

\begin{figure}
 \caption{A picture of a bird.}
 \centering
 \includegraphics[width=0.5\textwidth]{bird}
 \end{figure}

 \begin{figure}
 \centering
 \reflectbox{%
  \includegraphics[width=0.5\textwidth]{bird}}
 \caption{A reflected picture of same bird}
\end{figure}

\end{document}
您会注意到原始图片和反射图片之间的差异。
输出:
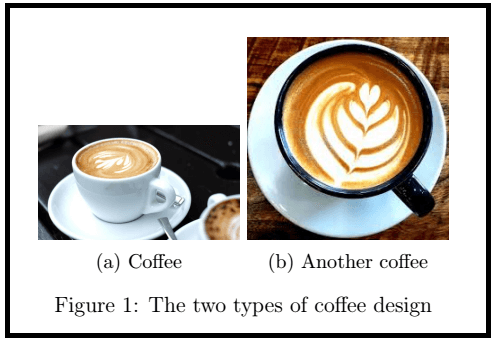
latex 中的子图
有时需要添加多于一两个图片。环境子图用于显示多个图像。您需要添加各种子图环境进行配置。
代码或程序如下:
\documentclass[a5paper,12pt]{article}
\usepackage{graphicx}
\usepackage{subcaption}
\begin{document}

\begin{figure}[h]
 \centering
 \begin{subfigure}[b]{0.4\linewidth} % here, b means bottom
 \includegraphics[width=\linewidth]{coffee}
 \caption{Coffee}
 \end{subfigure}
 \begin{subfigure}[b]{0.4\linewidth}
 \includegraphics[width=\linewidth]{coffee1} % you can specify any picture
 \caption{Another coffee}
 \end{subfigure}
 \caption{The two types of coffee design}
 \label{fig:coffee}
\end{figure}

\end{document}
您可以在输出中注意到彼此相邻的两张图片。
输出:
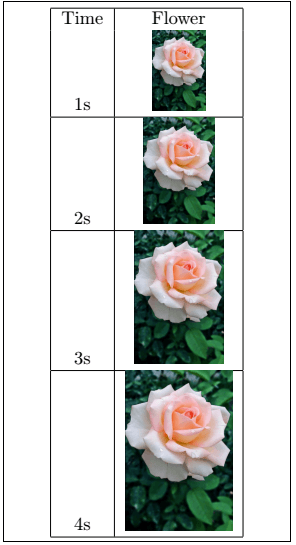
图表
下面给出了以表格格式包含数字的两个示例:
1.第一个示例的代码如下:
\documentclass{article}
\usepackage{graphicx}
\usepackage{xcolor, soul} % this package is added because of the background-color

\begin{document}
\begin{table}
\begin{tabular}{cc}
\pagecolor{pink}
 CD (Compact Disk) & Hard Disk Drive \\
\includegraphics[height=1.4in]{CD} &
\includegraphics[height=1.4in]{HDD} \\
\end{tabular}
\end{table}

\end{document}
在这里,我们使用了背景色来增强文档。
输出:

2.下面是第二个示例的代码:
\documentclass{article}
\usepackage{graphicx}

\begin{document}
\begin{table}
\begin{tabular}{|c |c|} \hline
 Time & Flower \\
1s & \includegraphics[height=0.6in]{flower1} \\ \hline % the picture was saved with the flower1 name
2s & \includegraphics[height=0.8in]{flower1} \\ \hline
3s & \includegraphics[height=1.0in]{flower1} \\ \hline
4s & \includegraphics[height=1.2in]{flower1} \\ \hline
\end{tabular}
\end{table}

\end{document}
输出:
清单和种类
使用listoffigures命令显示该列表。使用此命令将自动为页码和列表名称编号。 \ newcommand物种的形成是为了在文档中突出显示物种名称。示例如下:
\documentclass[12pt,]{article}
\usepackage{graphicx}
\newcommand{\species}[1]{\textit{#1} sp.} % \textit{#1} is used to display the name of species in italics
\begin{document}

\listoffigures
\section{Introduction}

\begin{figure}[h]
\centering
\includegraphics[width=2.5in]{lynx}
\caption[Close up of cat species \species{lynx}]
    {Close up of \species{lynx}, which is part of the cat family. It is the species within the medium size wild cat live in Europe and Africa.}  % \species{lynx} command is used to display the species word in the format declared above, i.e., italics
\end{figure}

\end{document}
您可以使用任何文本格式来显示物种名称。
输出:

文字换行
作者更喜欢将文字环绕在图片周围,以使流程不会中断。包装数字和文字需要大量调整。它包括软件包和特殊命令。
使用的包是wrapfig包。该命令写为:
\usepackage{wrapfig}.
它可以访问命令,即
\begin{wrapfigure}[lineheight]{position}[overhang]{width}
让我们通过一个例子来理解它。代码如下:
\documentclass{article}
\usepackage{graphicx}
\usepackage{wrapfig}
\begin{document}
\begin{wrapfigure}{i}{100mm}
\begin{center}
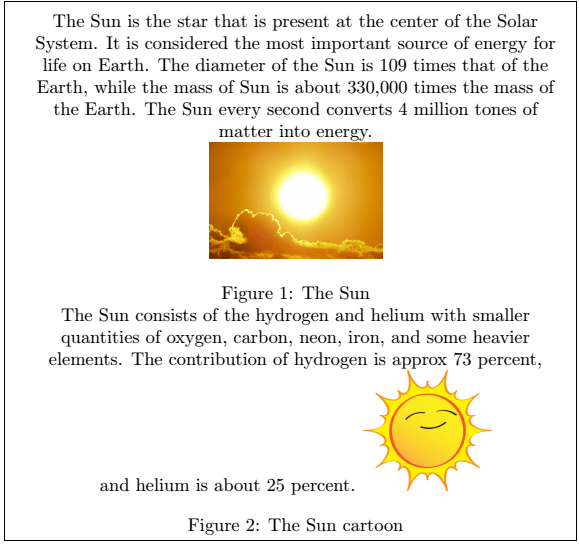
The Sun is the star that is present at the center of the Solar System. It is considered the most important source of energy for life on Earth. The diameter of the Sun is 109 times that of the Earth, while the mass of Sun is about 330,000 times the mass of the Earth. The Sun every second converts 4 million tones of matter into energy.
\includegraphics[scale=0.1]{sun}
\caption{The Sun}
The Sun consists of the hydrogen and helium with smaller quantities of oxygen, carbon, neon, iron, and some heavier elements. The contribution of hydrogen is approx 73 percent, and helium is about 25 percent.
\includegraphics[scale=0.3]{sun1}
\caption{The Sun cartoon}
\end{center}
\end{wrapfigure}
\end{document}
输出:
下表列出了总共使用的八个职位:
| Position name | Explanation |
|---|---|
| R, r | Right-side of the text |
| I, i | Inside edge |
| O, o | Outside edge |
| L, l | Left-side of the text |