使用 JavaScript 创建一个简单的图像编辑器
在本文中,我们将创建一个简单的图像编辑器,可用于调整图像值,如亮度、对比度、色调、饱和度、灰度和棕褐色。图像编辑器允许人们在照片被捕获后快速编辑它们,以增强它们或完全改变它们的外观。使用各种值的组合,可以使图像焕然一新。我们将在浏览器中完成所有这些工作 仅使用 HTML、CSS、JavaScript 和 Canvas API 使应用程序轻巧快速。
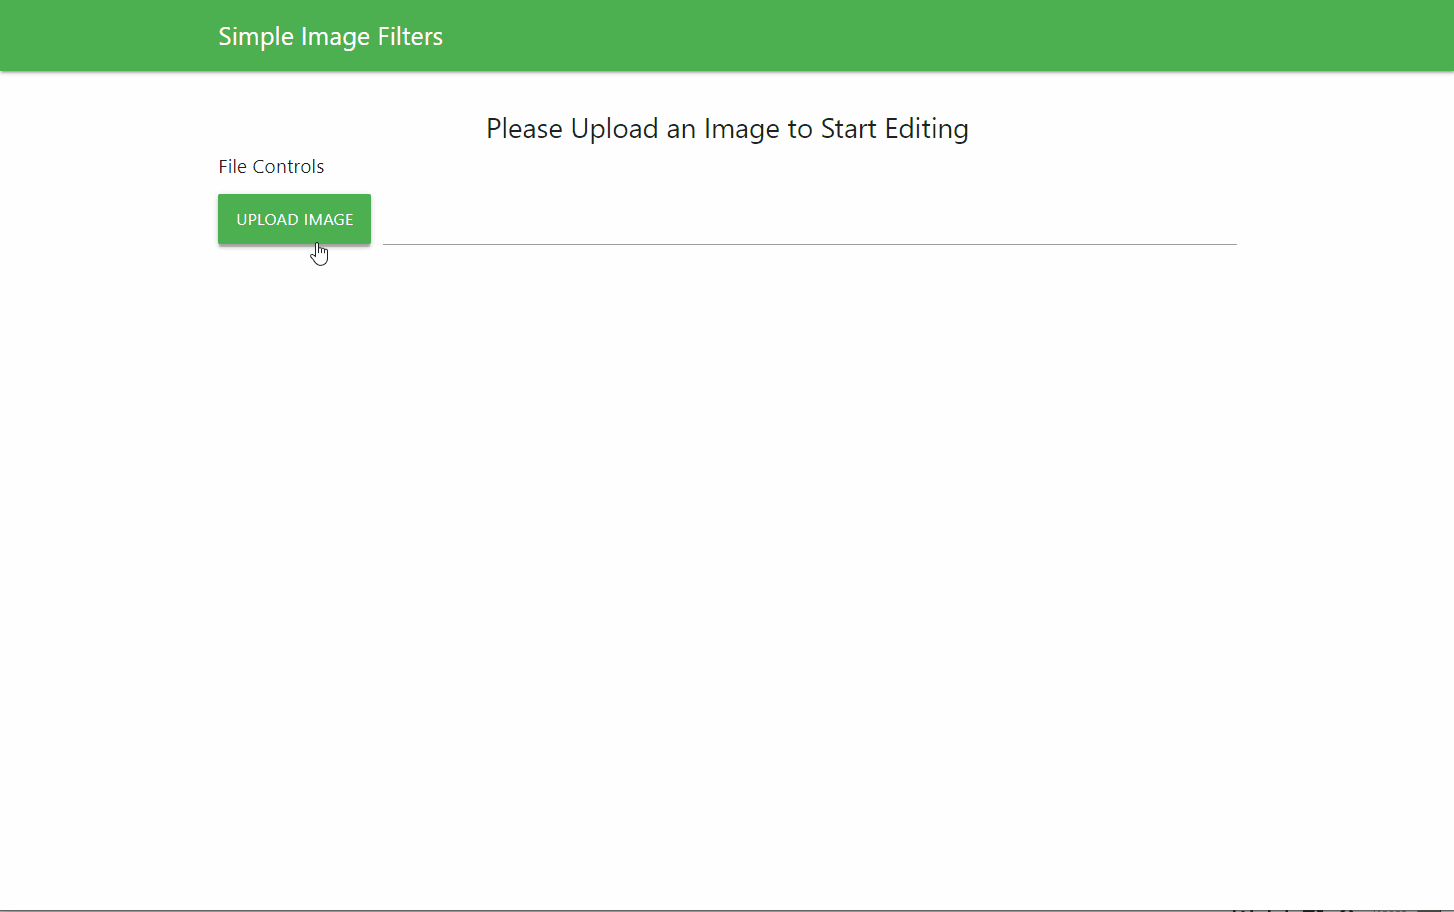
简单的图像编辑器
在这里,我们将学习如何从本地系统中选择一个文件并在画布上使用它来进行更改。我们还将学习如何将修改后的图像保存到我们的系统中。
我们将此任务分为 3 个部分,即 HTML、CSS 和 Javascript 部分。我们将在这些部分中按顺序了解图像编辑器的制作。
HTML 布局: HTML 布局定义了将在页面上显示的元素结构。这包括:
- 标题:这将包含应用程序标题和用于保存修改后的图像或重置过滤器的按钮。
- 图像预览:这部分将保存我们将要处理的画布。当我们更改过滤器值时,它将有助于预览图像。
- 过滤器滑块:此部分将包含处理图像过滤器值的所有滑块。
- 预设过滤器:此部分包含一组按钮,可用于一次设置多个值以实现特定样式。
- 文件控制区域:此部分包含一个用于从文件系统中选择新图像的按钮。
我们将使用MaterializeCSS库为应用程序设置样式并使用其网格系统定位内容,以确保移动响应能力。
例子:
HTML
Simple Image Editor
![]()
CSS
.nav-header {
    font-size: 1.5rem;
}

.row {
    margin-bottom: 0;
}

#sourceImage,
.image-controls,
.image-save,
.preset-filters {
    display: none;
}

.image-preview {
    display: flex;
    justify-content: center;
    margin-top: 20px;
}

#canvas {
    max-height: 420px;
    object-fit: contain;
}
Javascript
// Get the source image to be edited
let image = document.getElementById('sourceImage');

// Get the canvas for the edited image
let canvas = document.getElementById('canvas');

// Get the 2D context of the image
let context = canvas.getContext('2d');

// Get all the sliders of the image
let brightnessSlider = document.getElementById("brightnessSlider");
let contrastSlider = document.getElementById("contrastSlider");
let grayscaleSlider = document.getElementById("grayscaleSlider");
let hueRotateSlider = document.getElementById("hueRotateSlider");
let saturateSlider = document.getElementById("saturationSlider");
let sepiaSlider = document.getElementById("sepiaSlider");
Javascript
function uploadImage(event) {

    // Set the source of the image from the uploaded file
    image.src = URL.createObjectURL(event.target.files[0]);

    image.onload = function () {
        // Set the canvas the same width and height of the image
        canvas.width = this.width;
        canvas.height = this.height;
        canvas.crossOrigin = "anonymous";
        applyFilter();
    };

    // Show the image editor controls and hide the help text
    document.querySelector('.help-text').style.display = "none";
    document.querySelector('.image-save').style.display = "block";
    document.querySelector('.image-controls').style.display = "block";
    document.querySelector('.preset-filters').style.display = "block";
};
Javascript
// This function is used to update the image
// along with all the filter values
function applyFilter() {

    // Create a string that will contain all the filters
    // to be used for the image
    let filterString =
        "brightness(" + brightnessSlider.value + "%" +
        ") contrast(" + contrastSlider.value + "%" +
        ") grayscale(" + grayscaleSlider.value + "%" +
        ") saturate(" + saturateSlider.value + "%" +
        ") sepia(" + sepiaSlider.value + "%" +
        ") hue-rotate(" + hueRotateSlider.value + "deg" + ")";

    // Apply the filter to the image
    context.filter = filterString;

    // Draw the edited image to canvas
    context.drawImage(image, 0, 0);
}
Javascript
// A series of functions that handle the preset filters
// Each of these will first reset the image
// and then apply a certain parameter before
// redrawing the image
function brightenFilter() {
    resetImage();
    brightnessSlider.value = 130;
    contrastSlider.value = 120;
    saturateSlider.value = 120;
    applyFilter();
}

function bwFilter() {
    resetImage();
    grayscaleSlider.value = 100;
    brightnessSlider.value = 120;
    contrastSlider.value = 120;
    applyFilter();
}

function funkyFilter() {
    resetImage();

    // Set a random hue rotation everytime
    hueRotateSlider.value =
        Math.floor(Math.random() * 360) + 1;
    contrastSlider.value = 120;
    applyFilter();
}

function vintageFilter() {
    resetImage();
    brightnessSlider.value = 120;
    saturateSlider.value = 120;
    sepiaSlider.value = 150;
    applyFilter();
}
Javascript
// Reset all the slider values to there default values
function resetImage() {
    brightnessSlider.value = 100;
    contrastSlider.value = 100;
    grayscaleSlider.value = 0;
    hueRotateSlider.value = 0;
    saturateSlider.value = 100;
    sepiaSlider.value = 0;
    applyFilter();
}

function saveImage() {
    // Select the temporary element we have created for
    // helping to save the image
    let linkElement = document.getElementById('link');
    linkElement.setAttribute(
      'download', 'edited_image.png'
    );

    // Convert the canvas data to a image data URL
    let canvasData = canvas.toDataURL("image/png")

    // Replace it with a stream so that
    // it starts downloading
    canvasData.replace(
      "image/png", "image/octet-stream"
    )

    // Set the location href to the canvas data
    linkElement.setAttribute('href', canvasData);

    // Click on the link to start the download
    linkElement.click();
}
CSS样式:
我们将根据我们的应用程序对默认的 Materialize 样式进行一些小的更改。主要变化包括:
- 在未选择图像时隐藏图像过滤器滑块和按钮,并使用display属性显示帮助消息。
- 使用flex和justify-content属性使图像预览居中。
- 将画布的最大高度设置为固定值并使用object-fit属性确保它适合给定区域。这将有助于在所有屏幕尺寸上使用应用程序,而图像不会占用太多空间。
例子:
CSS
.nav-header {
    font-size: 1.5rem;
}

.row {
    margin-bottom: 0;
}

#sourceImage,
.image-controls,
.image-save,
.preset-filters {
    display: none;
}

.image-preview {
    display: flex;
    justify-content: center;
    margin-top: 20px;
}

#canvas {
    max-height: 420px;
    object-fit: contain;
}
JavaScript 部分:
该部分包含应用程序的主要逻辑。在这里,我们将逻辑分为5个步骤,如下所述:
第 1 步:定义变量并创建对 HTML 元素的引用:
我们将首先使用querySelector() 方法选择所有需要通过 JavaScript 修改的元素。然后为它们分配变量名称,以便可以轻松访问它们。还创建了对画布及其2D 上下文的引用以绘制图像。
Javascript
// Get the source image to be edited
let image = document.getElementById('sourceImage');

// Get the canvas for the edited image
let canvas = document.getElementById('canvas');

// Get the 2D context of the image
let context = canvas.getContext('2d');

// Get all the sliders of the image
let brightnessSlider = document.getElementById("brightnessSlider");
let contrastSlider = document.getElementById("contrastSlider");
let grayscaleSlider = document.getElementById("grayscaleSlider");
let hueRotateSlider = document.getElementById("hueRotateSlider");
let saturateSlider = document.getElementById("saturationSlider");
let sepiaSlider = document.getElementById("sepiaSlider");
第 2 步:从文件系统加载图像:
- 我们将使用不可见的
元素,我们在 HTML 中将其定义为源图像,然后再将其绘制到画布上。
- 在uploadImage()函数中,我们将首先使用URL.createObjectURL() 方法加载图像并将其分配给上述源图像元素的src属性。可以使用文件选择器的更改事件中的event.target.files[0]访问图像文件。
- 然后我们将画布的高度和宽度设置为等于图像的尺寸。我们还将crossOrigin属性设置为匿名,以防止画布被污染的问题。然后我们将调用applyFilter()函数将图像绘制到画布上。此函数将在下一步中解释。
- 我们还将使图像控件可见并隐藏之前显示的帮助文本。
Javascript
function uploadImage(event) {

    // Set the source of the image from the uploaded file
    image.src = URL.createObjectURL(event.target.files[0]);

    image.onload = function () {
        // Set the canvas the same width and height of the image
        canvas.width = this.width;
        canvas.height = this.height;
        canvas.crossOrigin = "anonymous";
        applyFilter();
    };

    // Show the image editor controls and hide the help text
    document.querySelector('.help-text').style.display = "none";
    document.querySelector('.image-save').style.display = "block";
    document.querySelector('.image-controls').style.display = "block";
    document.querySelector('.preset-filters').style.display = "block";
};
第 3 步:绘制图像并应用当前过滤器值。
- applyFilter()函数:这是处理图像绘制和应用过滤器值的主要函数。 Canvas API 有一个过滤器属性,可将过滤器应用于画布。由于该属性只能分配一次,我们必须同时指定所有过滤器,以便它们一起应用。
- 我们将首先创建包含我们为此应用程序选择的过滤器的字符串。这些是 CSS 中可用的常用过滤器。我们将使用value属性获取滑块的当前值,并在字符串中的正确位置使用它。
- 然后我们将此字符串分配给画布的过滤器属性。这会将过滤器分配给画布。
- 最后,我们将使用 Context API 的drawImage() 方法绘制图像。
Javascript
// This function is used to update the image
// along with all the filter values
function applyFilter() {

    // Create a string that will contain all the filters
    // to be used for the image
    let filterString =
        "brightness(" + brightnessSlider.value + "%" +
        ") contrast(" + contrastSlider.value + "%" +
        ") grayscale(" + grayscaleSlider.value + "%" +
        ") saturate(" + saturateSlider.value + "%" +
        ") sepia(" + sepiaSlider.value + "%" +
        ") hue-rotate(" + hueRotateSlider.value + "deg" + ")";

    // Apply the filter to the image
    context.filter = filterString;

    // Draw the edited image to canvas
    context.drawImage(image, 0, 0);
}
第 4 步:为图像使用预设过滤器:
- 我们上面定义的每个预设过滤器按钮都可用于为每个滑块设置特定值。这将应用一个独特的值组合,可用于快速实现外观,然后根据需要进一步修改值。
- 每个函数将首先使用我们将在下一步中定义的resetImage()函数重置图像,然后为该预设设置所需的过滤器值,然后调用applyFilter()使用过滤器重绘图像。
- 然后,用户可以在应用预设后更改滑块以进一步更改过滤器的外观。
Javascript
// A series of functions that handle the preset filters
// Each of these will first reset the image
// and then apply a certain parameter before
// redrawing the image
function brightenFilter() {
    resetImage();
    brightnessSlider.value = 130;
    contrastSlider.value = 120;
    saturateSlider.value = 120;
    applyFilter();
}

function bwFilter() {
    resetImage();
    grayscaleSlider.value = 100;
    brightnessSlider.value = 120;
    contrastSlider.value = 120;
    applyFilter();
}

function funkyFilter() {
    resetImage();

    // Set a random hue rotation everytime
    hueRotateSlider.value =
        Math.floor(Math.random() * 360) + 1;
    contrastSlider.value = 120;
    applyFilter();
}

function vintageFilter() {
    resetImage();
    brightnessSlider.value = 120;
    saturateSlider.value = 120;
    sepiaSlider.value = 150;
    applyFilter();
}
第 5 步:重置和保存图像:
- 重置图像:可以通过将过滤器值设置为其默认值,然后调用applyFilter()方法重新绘制原始图像来重置图像。这也会将滑块调整到它们的默认位置。
- 保存图像:可以通过参考我们在 HTML 部分中创建的临时 元素来保存图像。我们将使用download属性设置文件名,使用href属性设置要保存的画布数据。我们将使用toDataURL() 方法将画布转换为数据 URL,然后转换为图像流,以便它开始自动下载。
Javascript
// Reset all the slider values to there default values
function resetImage() {
    brightnessSlider.value = 100;
    contrastSlider.value = 100;
    grayscaleSlider.value = 0;
    hueRotateSlider.value = 0;
    saturateSlider.value = 100;
    sepiaSlider.value = 0;
    applyFilter();
}

function saveImage() {
    // Select the temporary element we have created for
    // helping to save the image
    let linkElement = document.getElementById('link');
    linkElement.setAttribute(
      'download', 'edited_image.png'
    );

    // Convert the canvas data to a image data URL
    let canvasData = canvas.toDataURL("image/png")

    // Replace it with a stream so that
    // it starts downloading
    canvasData.replace(
      "image/png", "image/octet-stream"
    )

    // Set the location href to the canvas data
    linkElement.setAttribute('href', canvasData);

    // Click on the link to start the download
    linkElement.click();
}
完成上述步骤后,图像编辑器就可以在任何浏览器中使用了。您可以根据自己的喜好添加更多预设过滤器,甚至可以使用其他可用的 CSS 过滤器。
输出:
简单的图像编辑器