将 PyMongo 光标转换为 JSON
先决条件: MongoDB Python基础
本文是关于将 PyMongo 光标转换为 JSON。 find() 和 find_one() 等函数返回 Cursor 实例。
让我们开始:
- 导入所需模块:使用以下命令导入所需模块:
from pymongo import MongoClient
from bson.json_util import dumps
如果您的机器上尚未安装 MongoDB,您可以参考指南:使用Python安装 MongoDB 的指南
- 创建连接:现在我们已经导入了模块,是时候建立与 MongoDB 服务器的连接了,大概是在 localhost(主机名)的端口 27017(端口号)上运行。
client = MongoClient(‘localhost’, 27017) - 访问数据库:因为与 MongoDB 服务器的连接已建立。我们现在可以创建或使用现有的数据库。
mydatabase = client.name_of_the_database - 访问集合:我们现在使用以下语法从数据库中选择集合:
collection_name = mydatabase.name_of_collection - 获取文档:使用 find() 方法从集合中获取所有文档。它返回游标的实例。
cursor = collection_name.find() - 将光标转换为 JSON:将光标转换为 JSON。
首先,我们将光标转换为字典列表。list_cur = list(cursor)现在,使用来自 bson.json_util 的方法 dumps() 将 list_cur 转换为 JSON
json_data = dumps(list_cur)您现在可以将其保存到文件中,也可以使用 load()函数在程序中使用它。
下面是实现。
# Python Program for
# demonstrating the
# PyMongo Cursor to JSON
# Importing required modules
from pymongo import MongoClient
from bson.json_util import dumps, loads
# Connecting to MongoDB server
# client = MongoClient('host_name',
# 'port_number')
client = MongoClient('localhost', 27017)
# Connecting to the database named
# GFG
mydatabase = client.GFG
# Accessing the collection named
# gfg_collection
mycollection = mydatabase.College
# Now creating a Cursor instance
# using find() function
cursor = mycollection.find()
# Converting cursor to the list
# of dictionaries
list_cur = list(cursor)
# Converting to the JSON
json_data = dumps(list_cur, indent = 2)
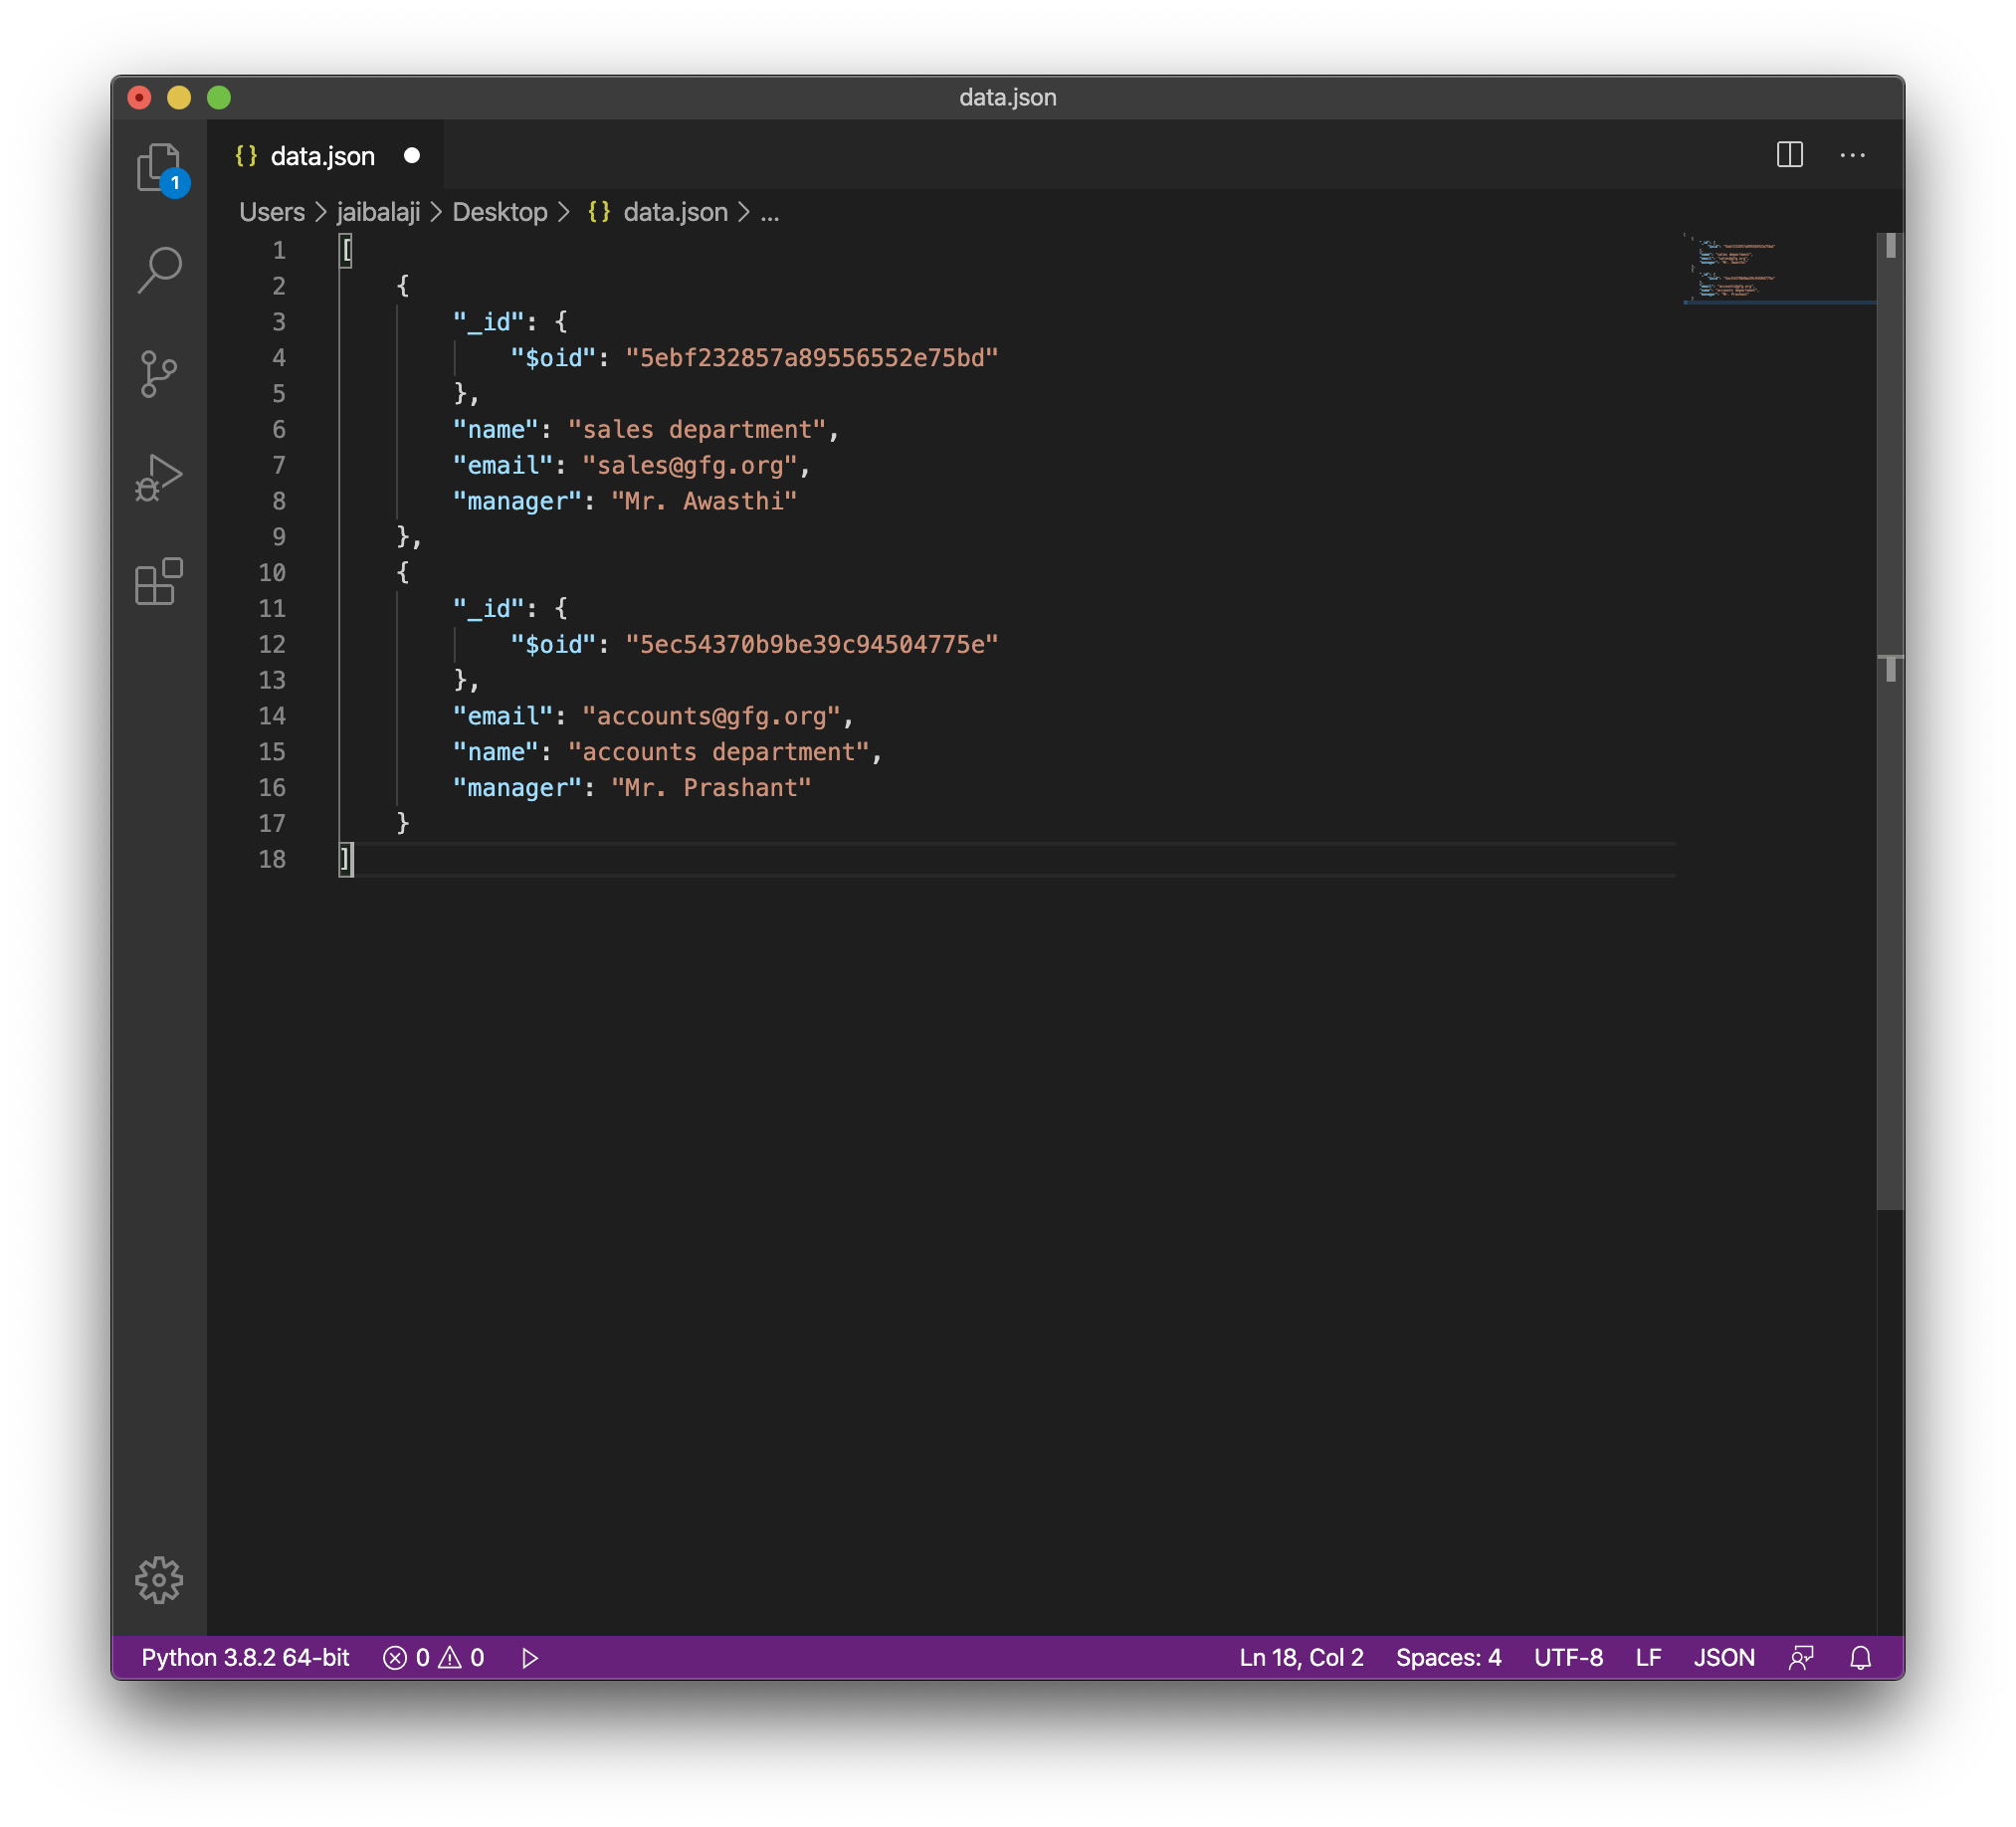
# Writing data to file data.json
with open('data.json', 'w') as file:
file.write(json_data)
输出: