📅 最后修改于: 2020-10-16 07:08:48 🧑 作者: Mango
视图负责将数据呈现给最终用户。在Web应用程序中,视图只是包含HTML和PHP代码的PHP脚本文件。
创建视图
步骤1-让我们看一下基本应用程序模板的“关于”视图。
title = 'About';
$this->params['breadcrumbs'][] = $this->title;
?>
= Html::encode($this->title) ?>
This is the About page. You may modify the following file to customize its content:
= __FILE__ ?>
$ this变量引用管理和呈现此视图模板的视图组件。
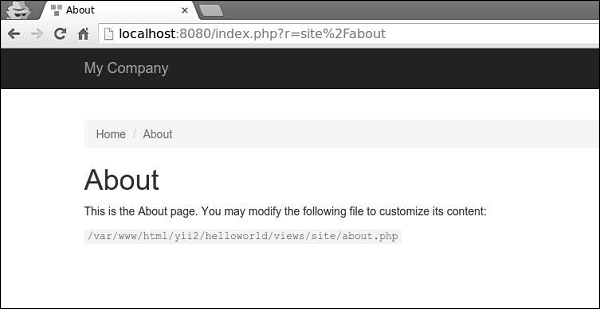
这是“关于”页面的样子-
重要的是编码和/或过滤来自最终用户的数据,以避免XSS攻击。您应该始终通过调用yii \ helpers \ Html :: encode()编码纯文本,并通过调用yii \ helpers \ HtmlPurifier来编码HTML内容。
步骤2-以以下方式修改“关于”视图。
title = 'About';
$this->params['breadcrumbs'][] = $this->title;
?>
= Html::encode($this->title) ?>
This is the About page. You may modify the following file to customize its content:
= Html::encode("
ENCODE EXAMPLE
>") ?>
= HtmlPurifier::process("
HtmlPurifier EXAMPLE
") ?>
= __FILE__ ?>
步骤3-现在键入http:// localhost:8080 / index.php?r = site / about 。您将看到以下屏幕。
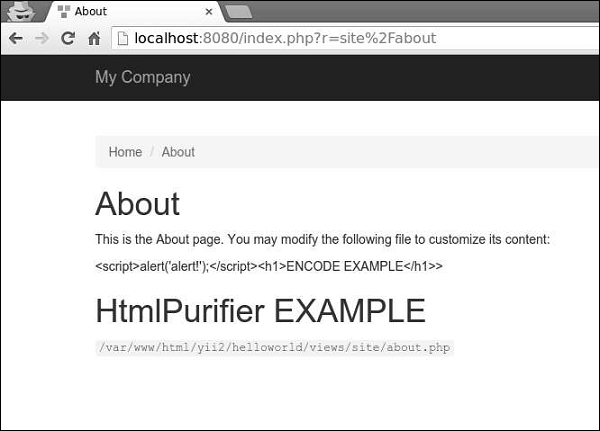
注意, Html :: encode()函数中的javascript代码显示为纯文本。对于HtmlPurifier :: process()调用也是如此。仅显示h1标签。
视图遵循这些约定-
-
由控制器呈现的视图应放在@ app / views / controllerID文件夹中。
-
在窗口小部件中呈现的视图应放在widgetPath / views文件夹中。
要在控制器内渲染视图,可以使用以下方法-
-
render() -渲染视图并应用布局。
-
renderPartial() -渲染一个没有布局的视图。
-
renderAjax() -渲染一个没有布局的视图,但是注入所有注册的js和css文件。
-
renderFile() -在给定的文件路径或别名中渲染视图。
-
renderContent() -渲染静态字符串并应用布局。
要在另一个视图中呈现一个视图,可以使用以下方法-
-
render() -渲染一个视图。
-
renderAjax() -渲染一个没有布局的视图,但是注入所有注册的js和css文件。
-
renderFile() -在给定的文件路径或别名中渲染视图。
步骤4-在views / site文件夹内,创建两个视图文件: _part1.php和_part2.php 。
_part1.php-
PART 1
_part2.php-
PART 2
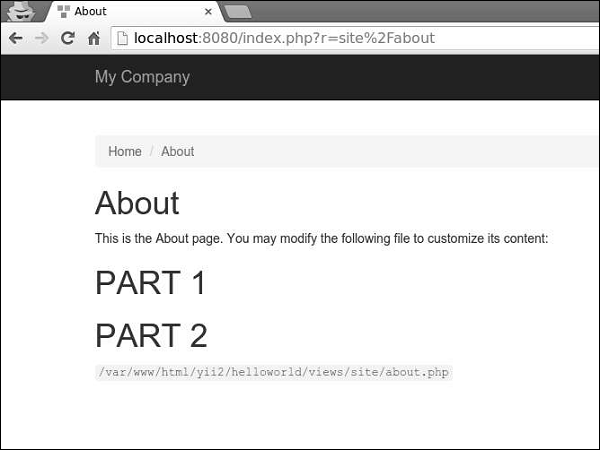
步骤5-最后,在“关于”视图中渲染这两个新创建的视图。
title = 'About';
$this->params['breadcrumbs'][] = $this->title;
?>
= Html::encode($this->title) ?>
This is the About page. You may modify the following file to customize its content:
= $this->render("_part1") ?>
= $this->render("_part2") ?>
= __FILE__ ?>
您将看到以下输出-
渲染视图时,可以使用视图名称或视图文件路径/别名来定义视图。视图名称通过以下方式解析-
-
视图名称可以省略扩展名。例如,关于视图对应于about.php文件。
-
如果视图名称以“ /”开头,则如果当前活动的模块为“论坛”,并且视图名称为“评论/帖子”,则路径为@ app / modules / forum / views / comment / post。如果没有活动模块,则路径为@ app / views / comment / post。
-
如果视图名称以“ //”开头,则对应的路径为@ app / views / ViewName。例如,// site / contact对应于@ app / views / site / contact.php。
-
如果视图名称为contact,而上下文控制器为SiteController,则路径为@ app / views / site / contact.php。
-
如果在商品视图中呈现价格视图,那么如果在@ app / views / invoice / goods.php中呈现价格,则价格将解析为@ app / views / invoice / price.php。
在视图中访问数据
要访问视图中的数据,应将数据作为第二个参数传递给视图呈现方法。
步骤1-修改SiteController的actionAbout 。
public function actionAbout() {
$email = "admin@support.com";
$phone = "+78007898100";
return $this->render('about',[
'email' => $email,
'phone' => $phone
]);
}
在上面给出的代码中,我们传递了两个变量$ email和$ phone以在About视图中呈现。
步骤2-更改关于视图代码。
title = 'About';
$this->params['breadcrumbs'][] = $this->title;
?>
= Html::encode($this->title) ?>
This is the About page. You may modify the following file to customize its content:
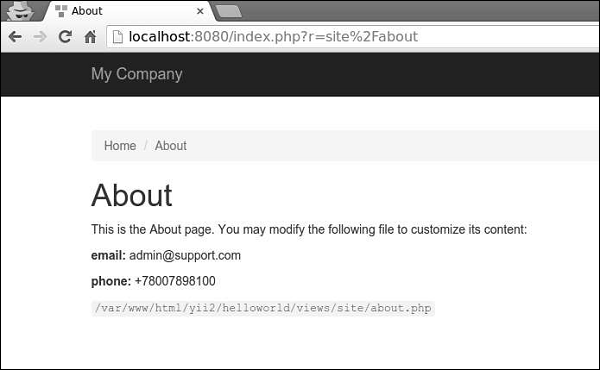
email: = $email ?>
phone: = $phone ?>
= __FILE__ ?>
我们刚刚添加了两个从SiteController接收到的变量。
步骤3-在网络浏览器中输入URL http:// localhost:8080 / index.php?r = site / about ,您将看到以下内容。